What editing actually changes
Real before/after comparisons — drag each slider to see the raw file against the finished edit, with a plain explanation of what changed and why.

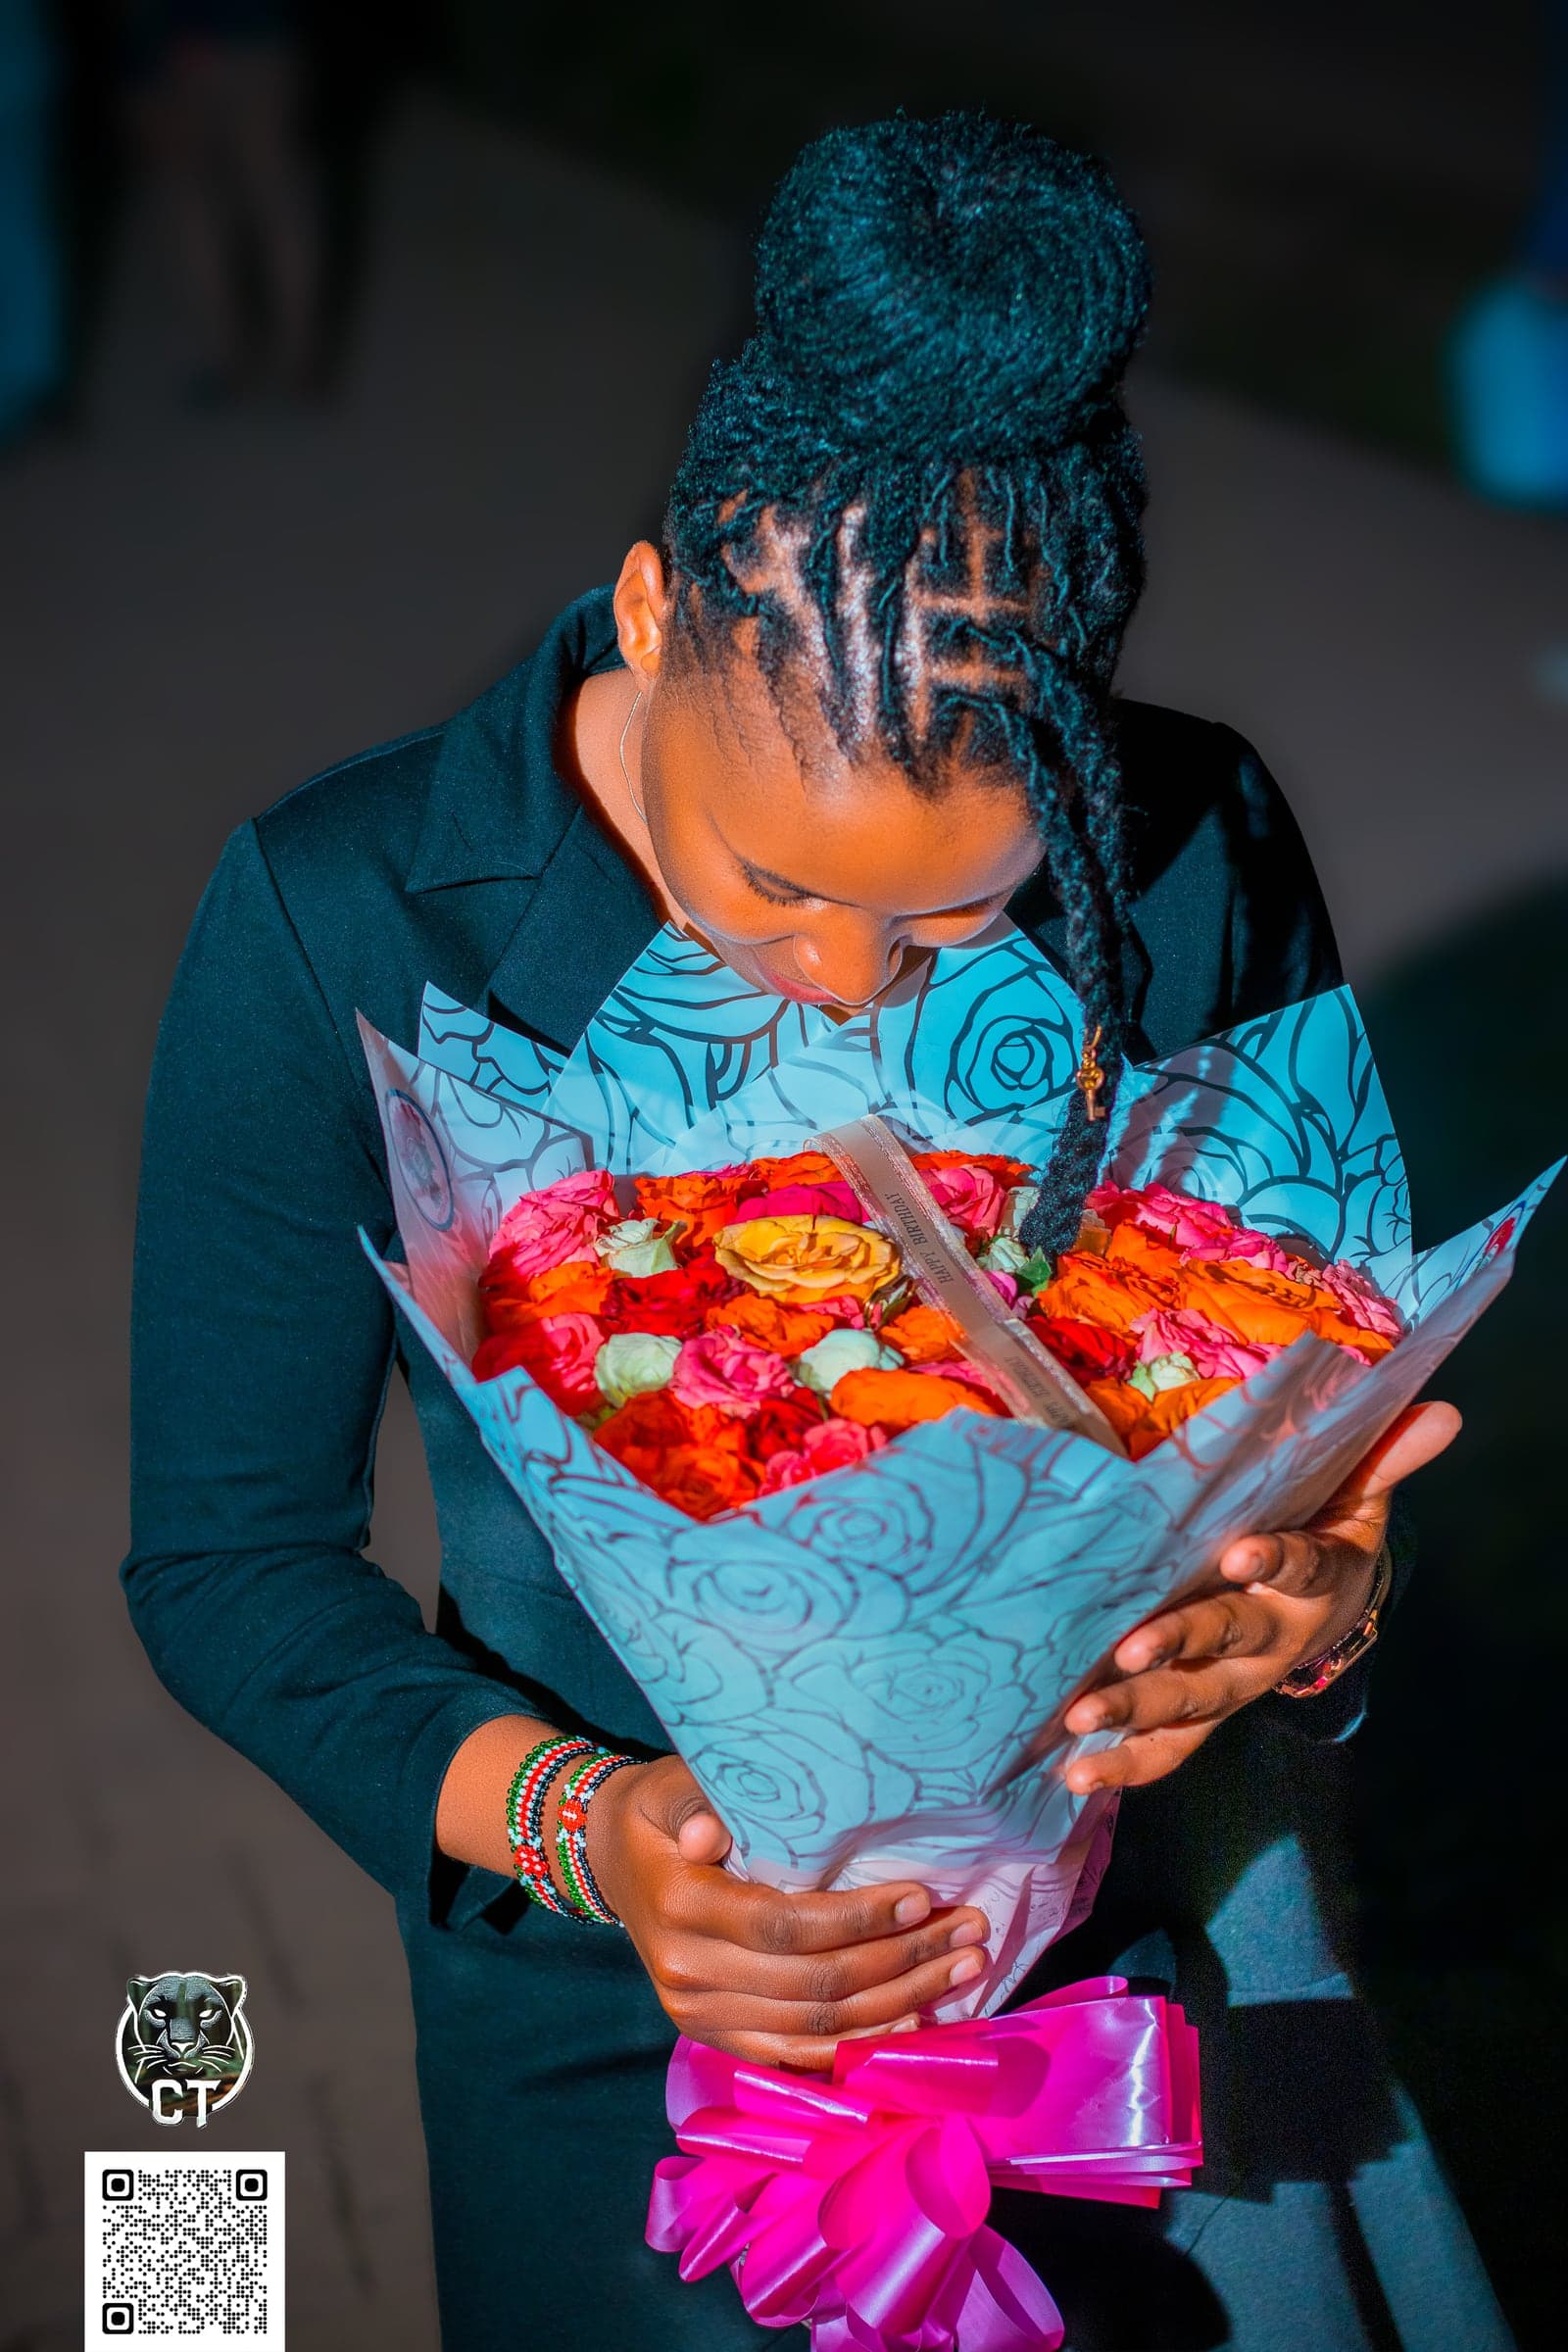
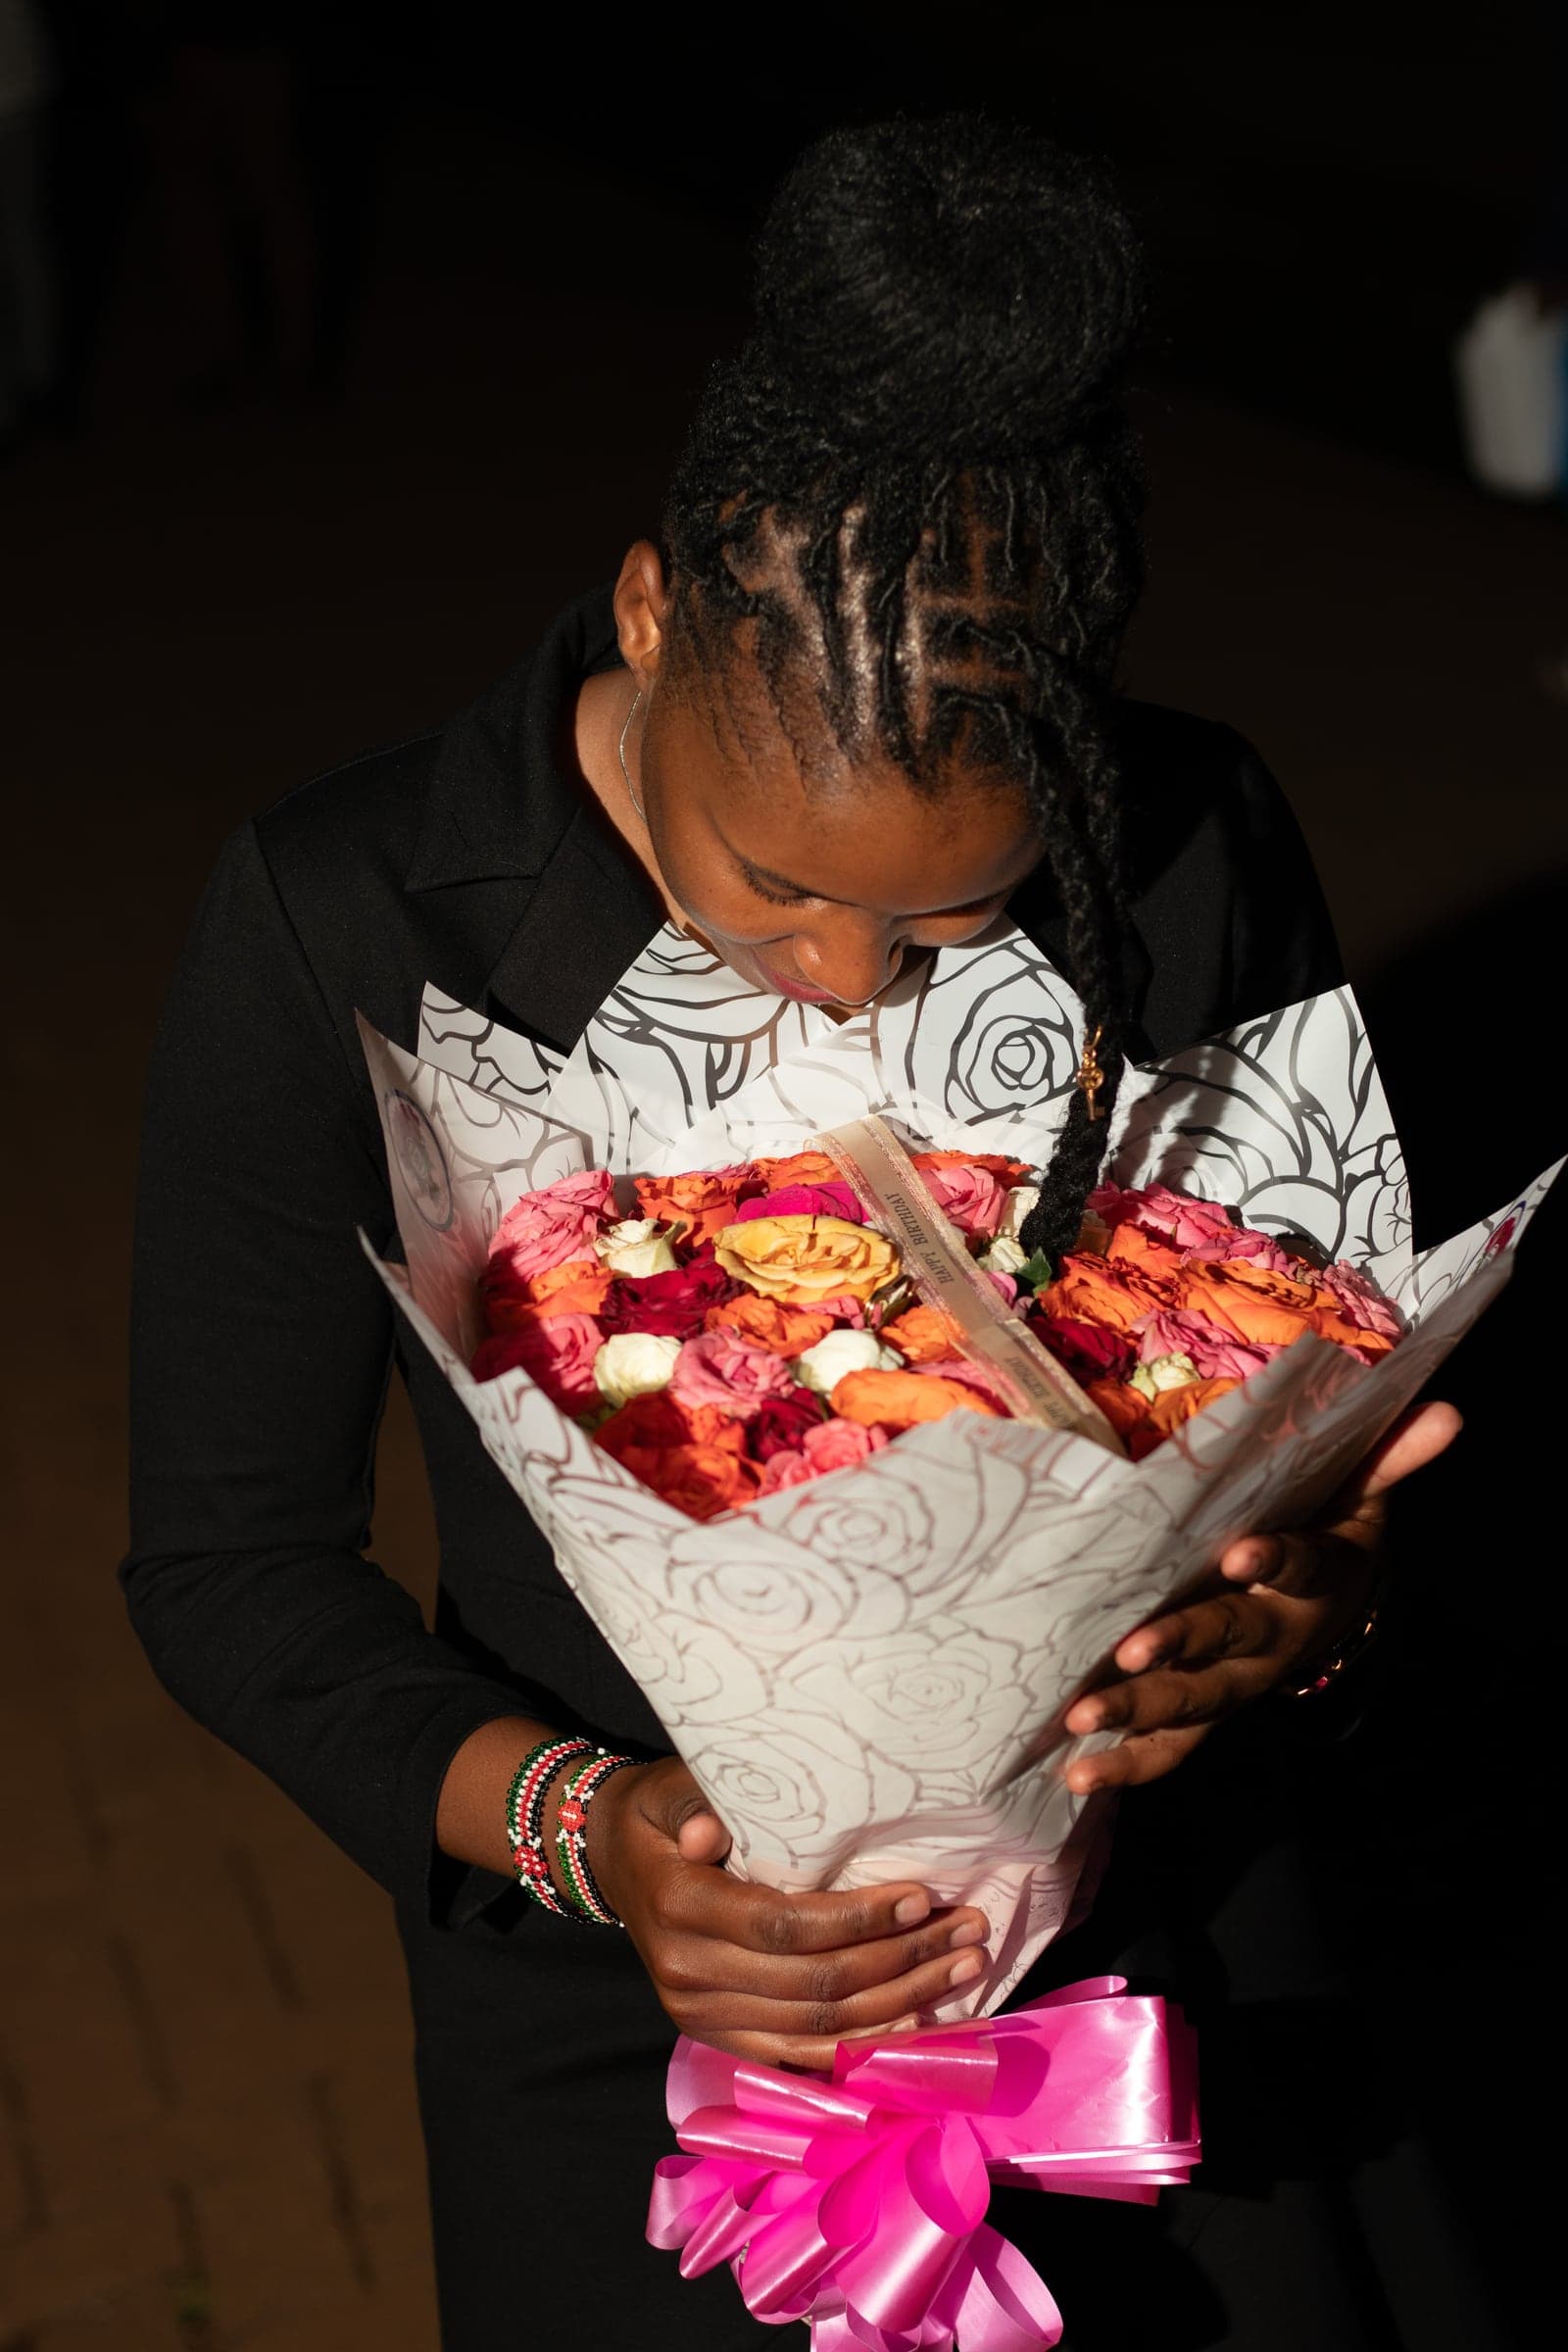
Background cleanup
Background cleanup
Clutter toned down so the person in frame holds your eye.
Tip: A wider aperture blurs this away at capture.
Get these presets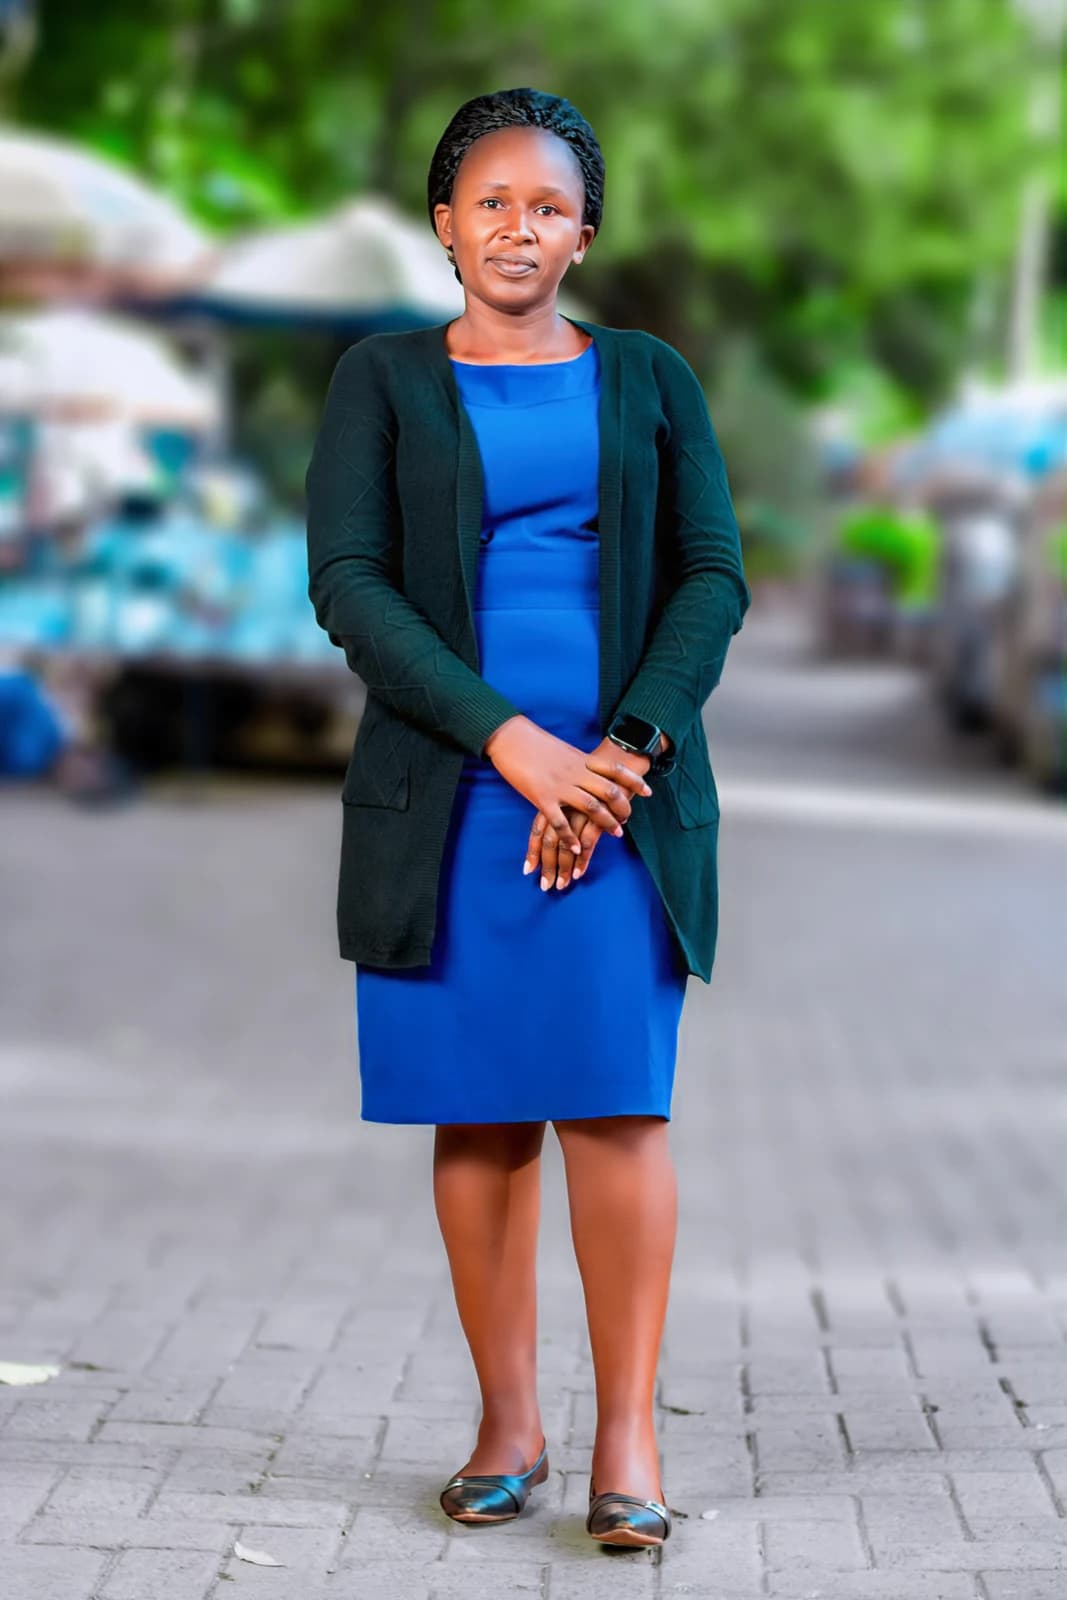
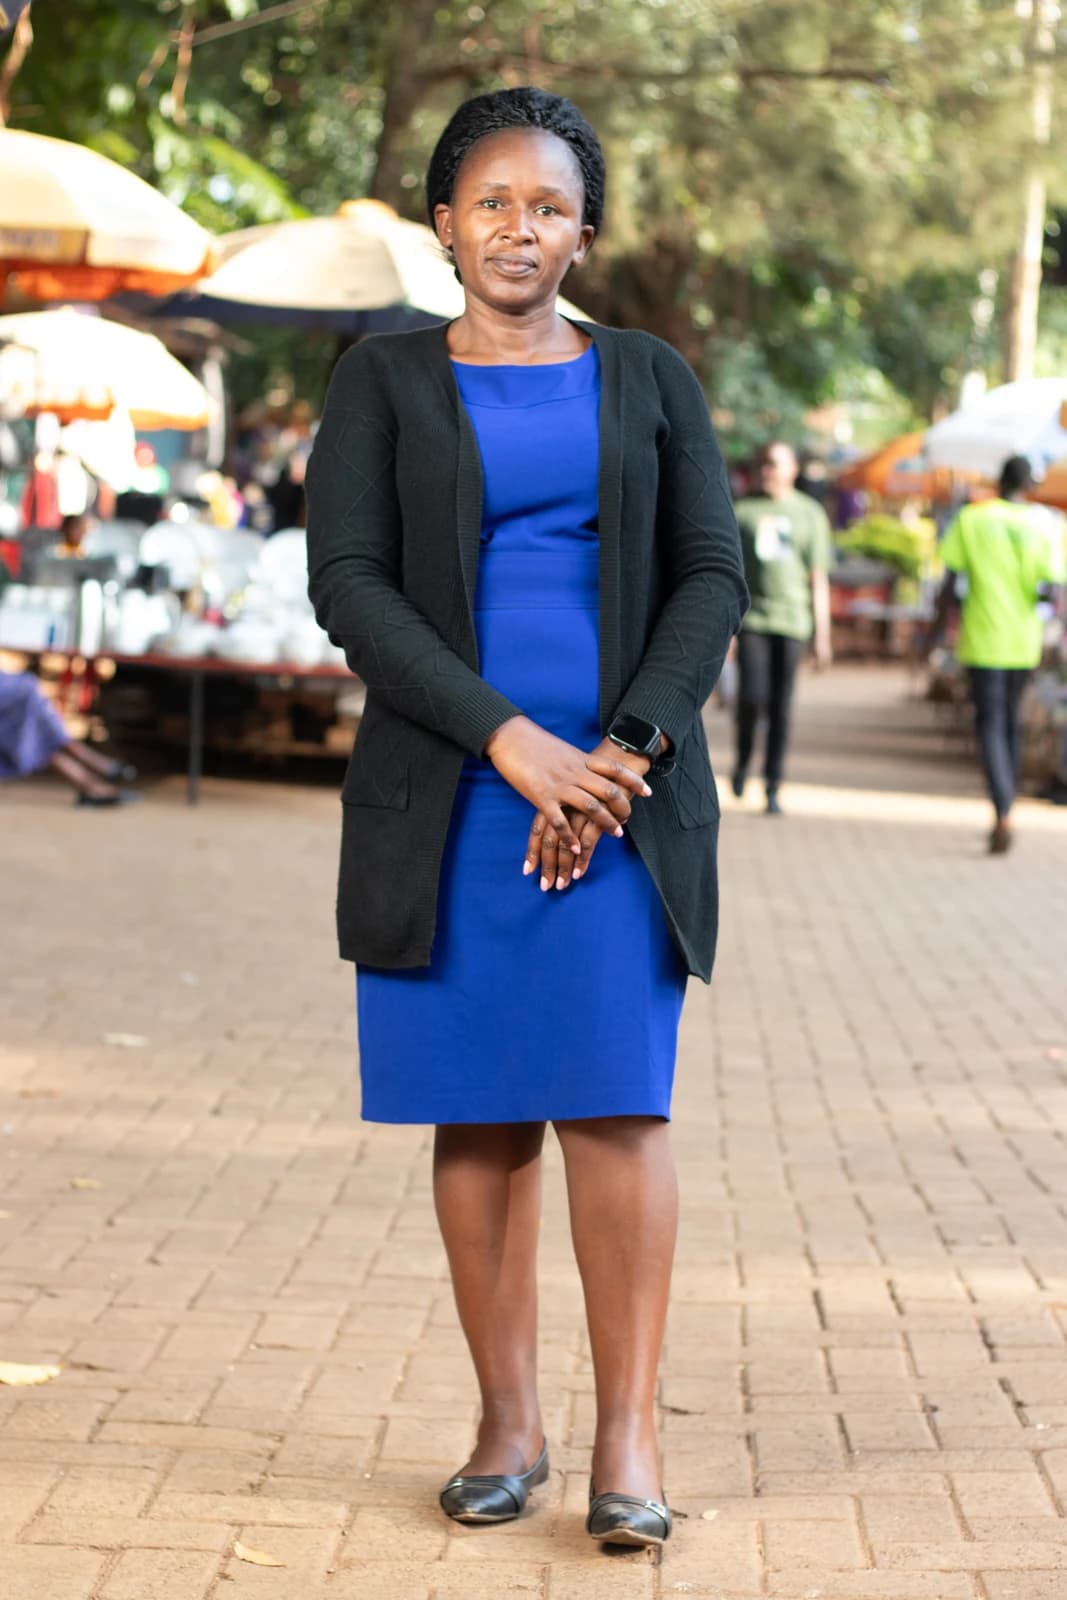
Background separation
Background separation
The background softened and desaturated so nothing competes with the person in frame.
Tip: A wider aperture gets you halfway there before the edit.
Get these presets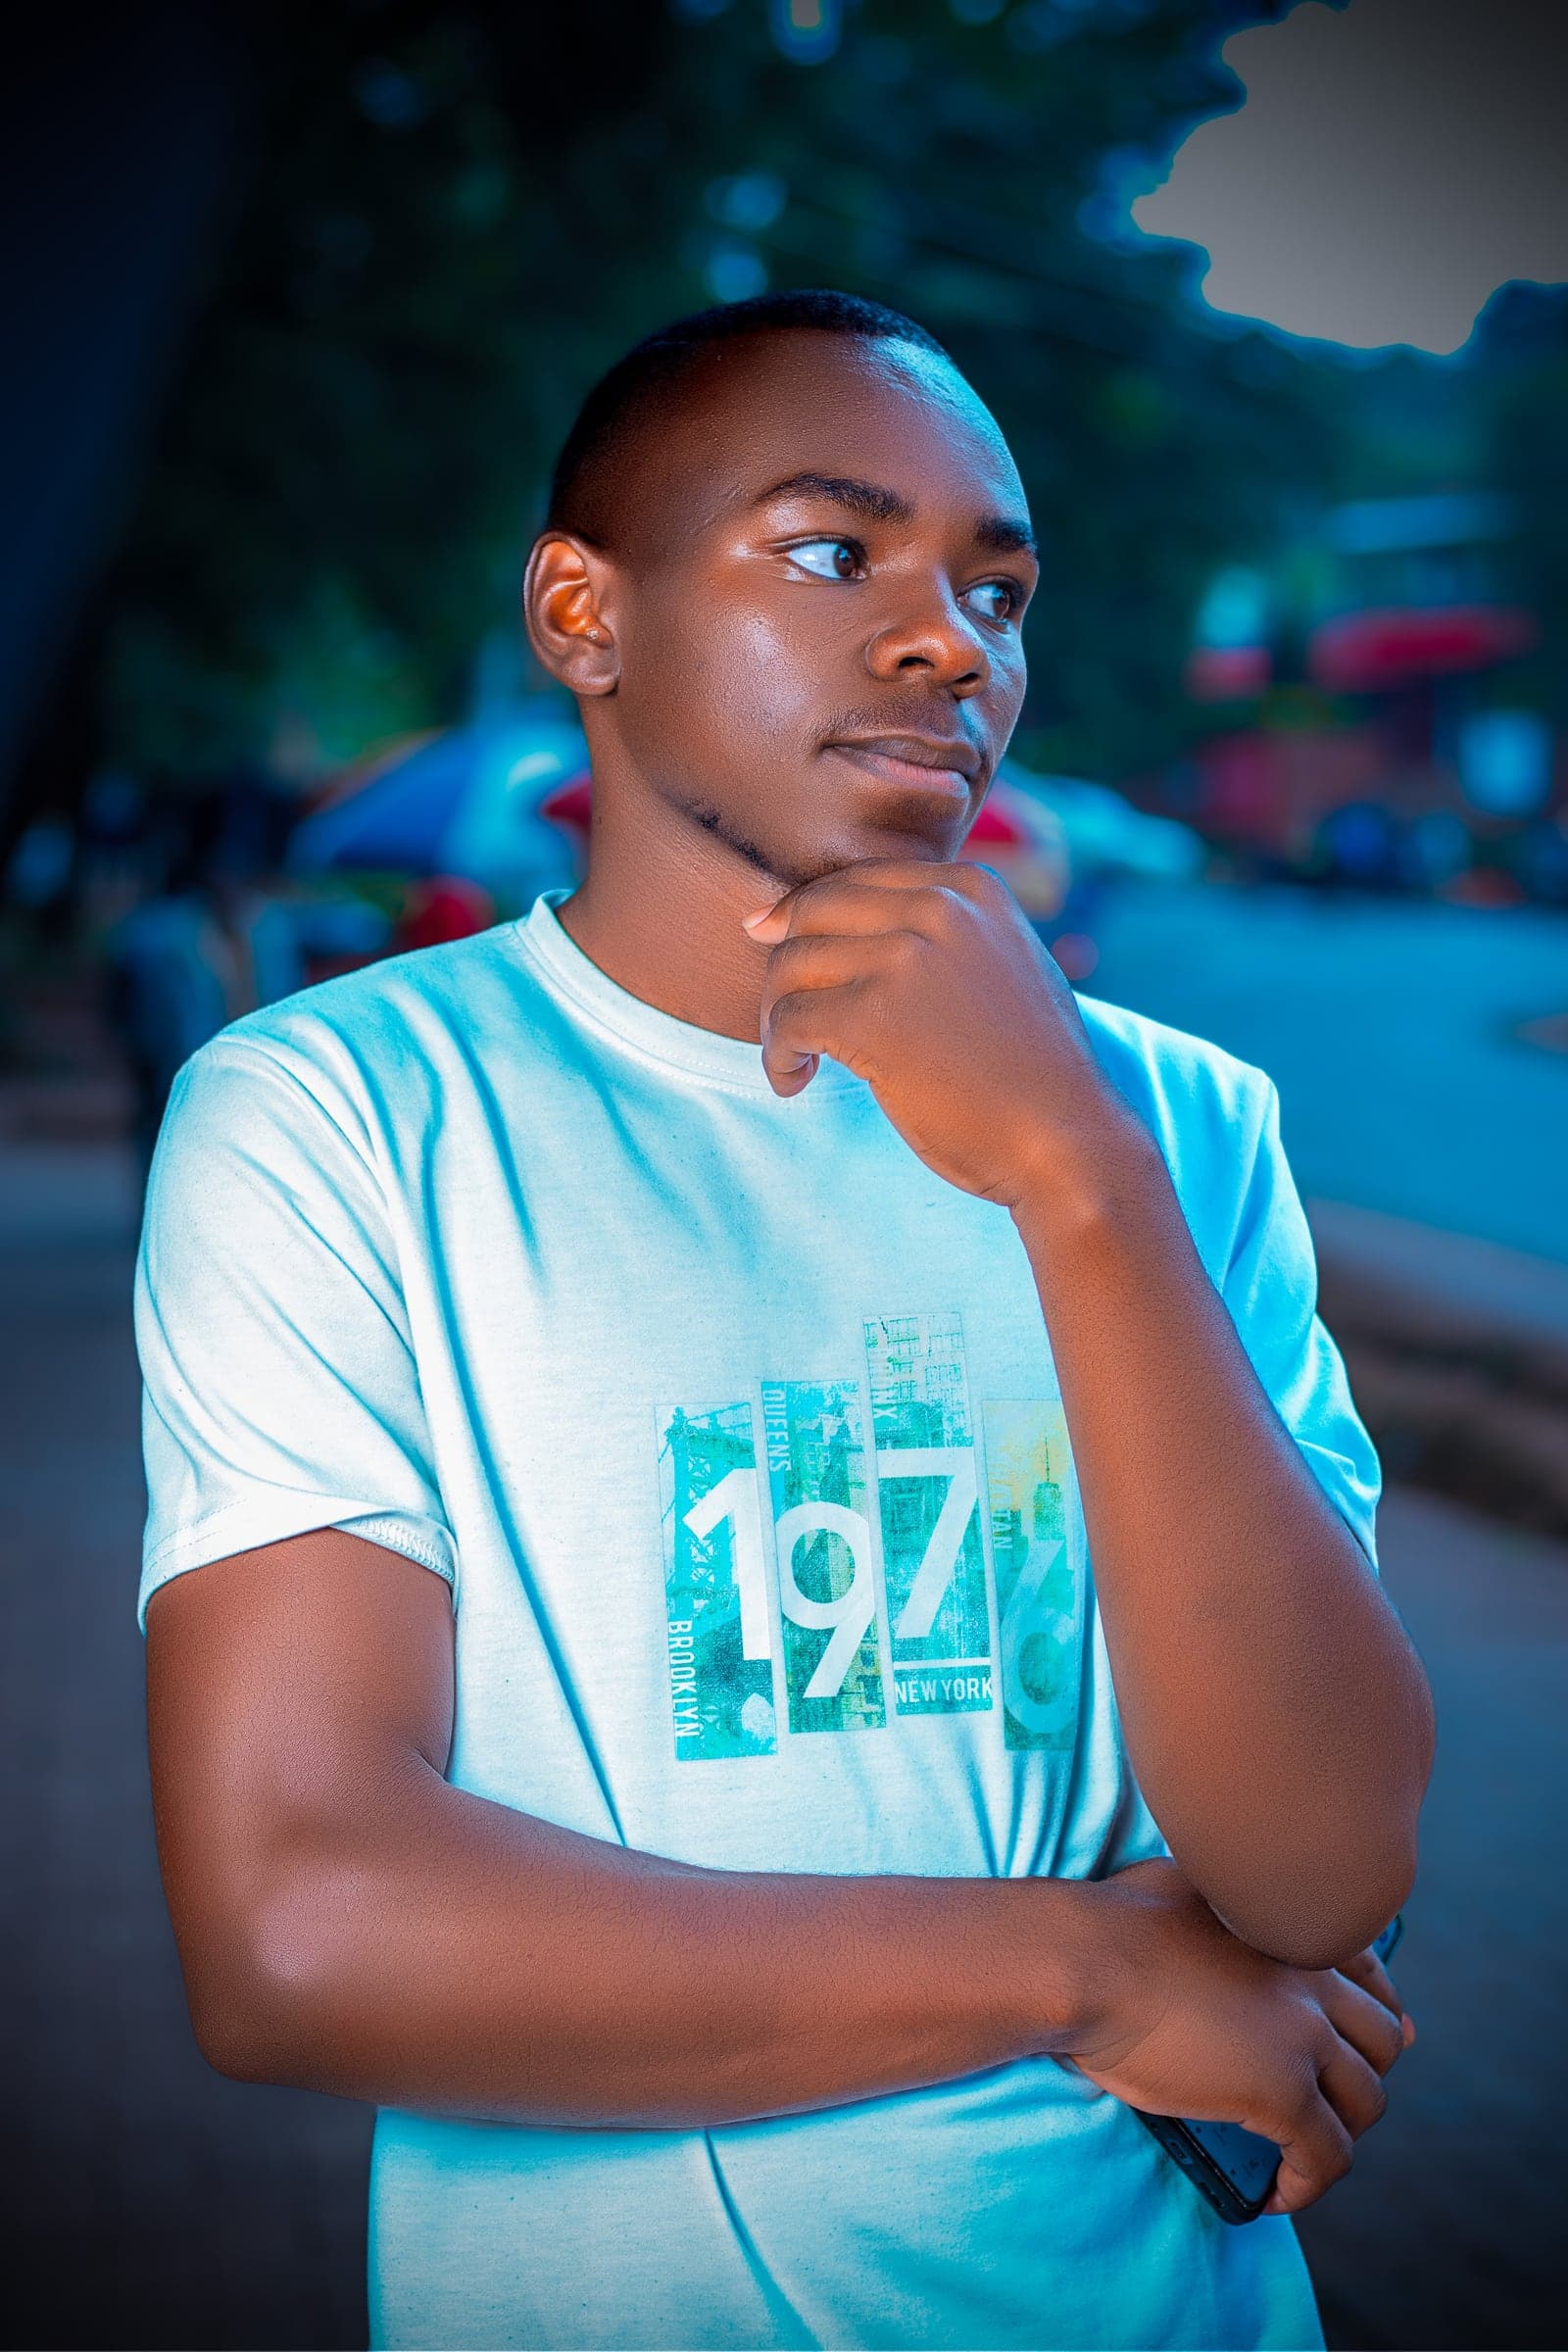

Cinematic portrait grade
Cinematic portrait grade
Cool teal shadows against warm skin, and a darkened, softened street for a moody, film-style portrait.
Tip: Protect the skin tones first, then push the shadows cool.
Get these presets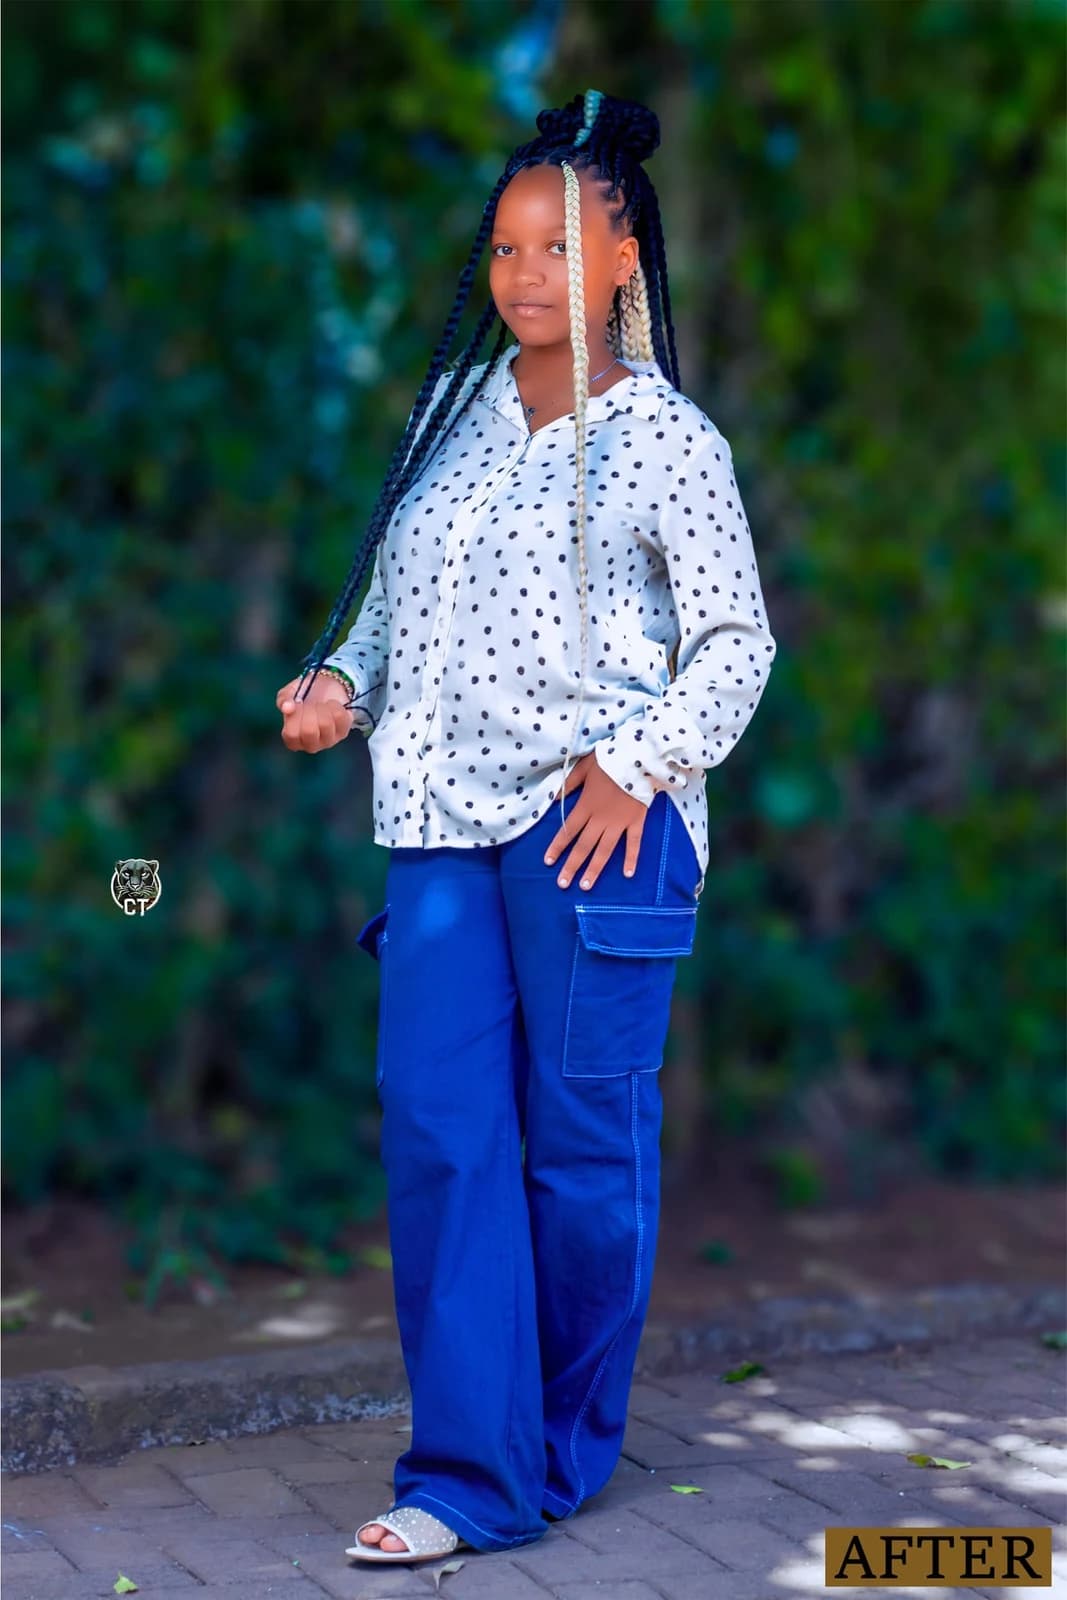

Color grading
Color grading
A consistent grade so this feels like part of the same story.
Tip: Decide the grade before the shoot, not after.
Get these presets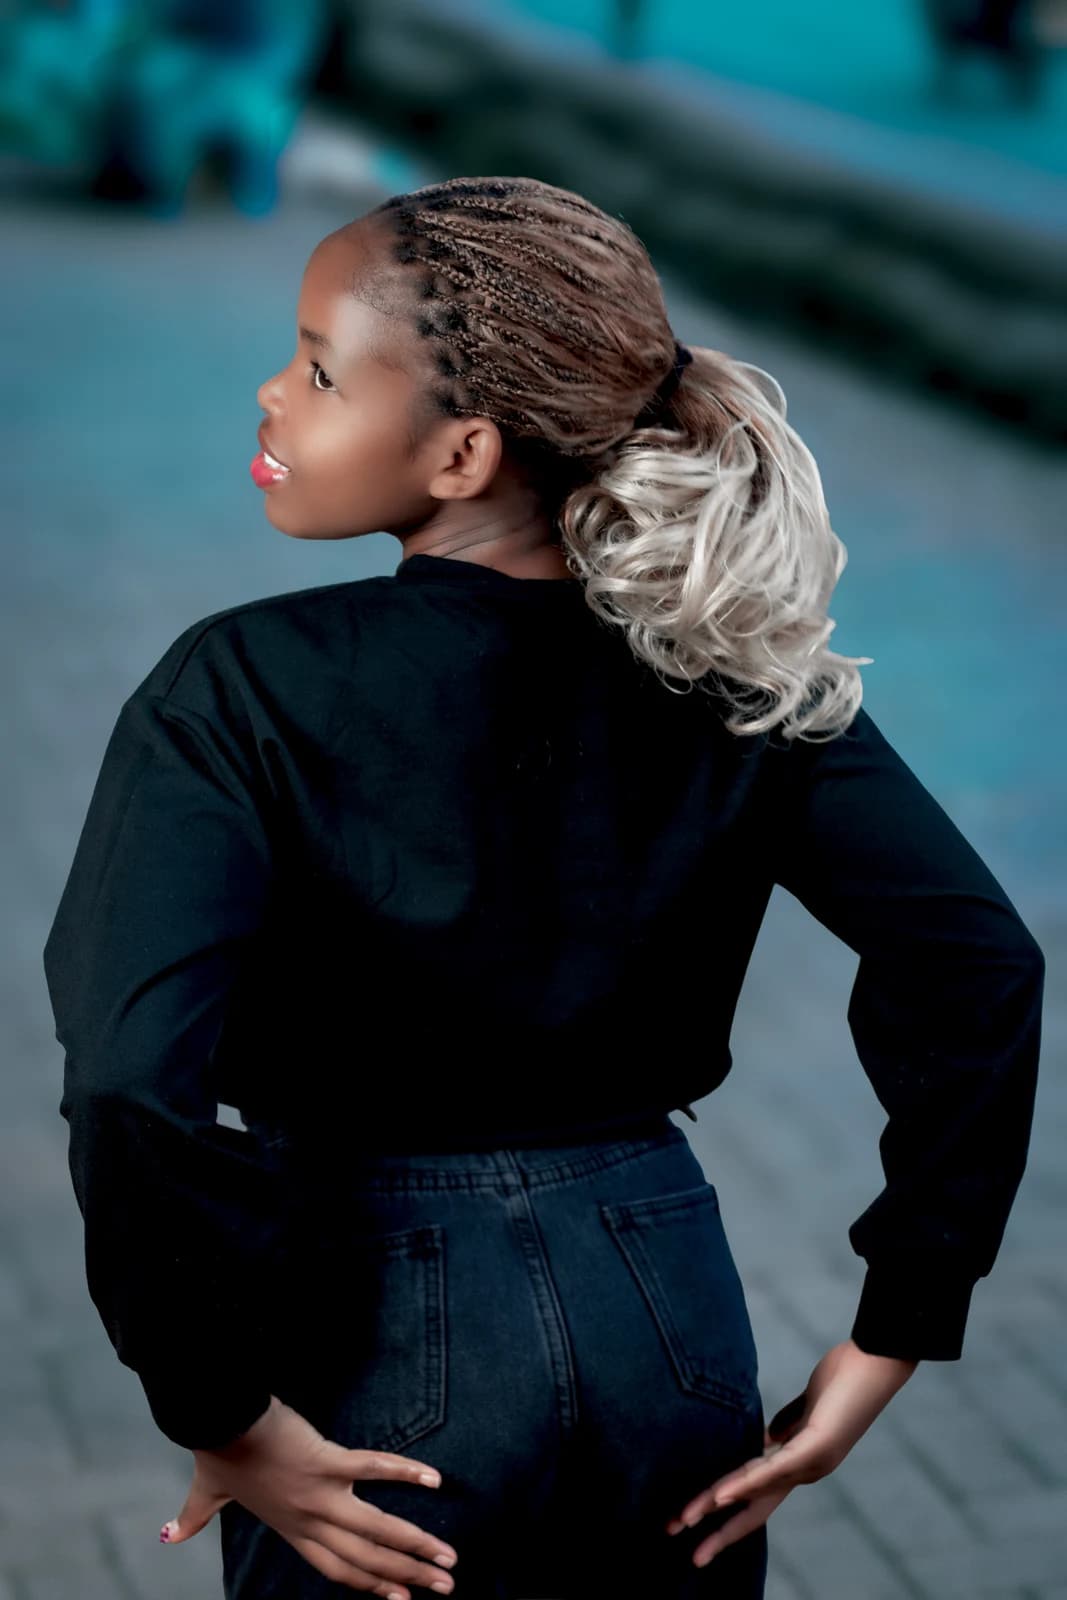
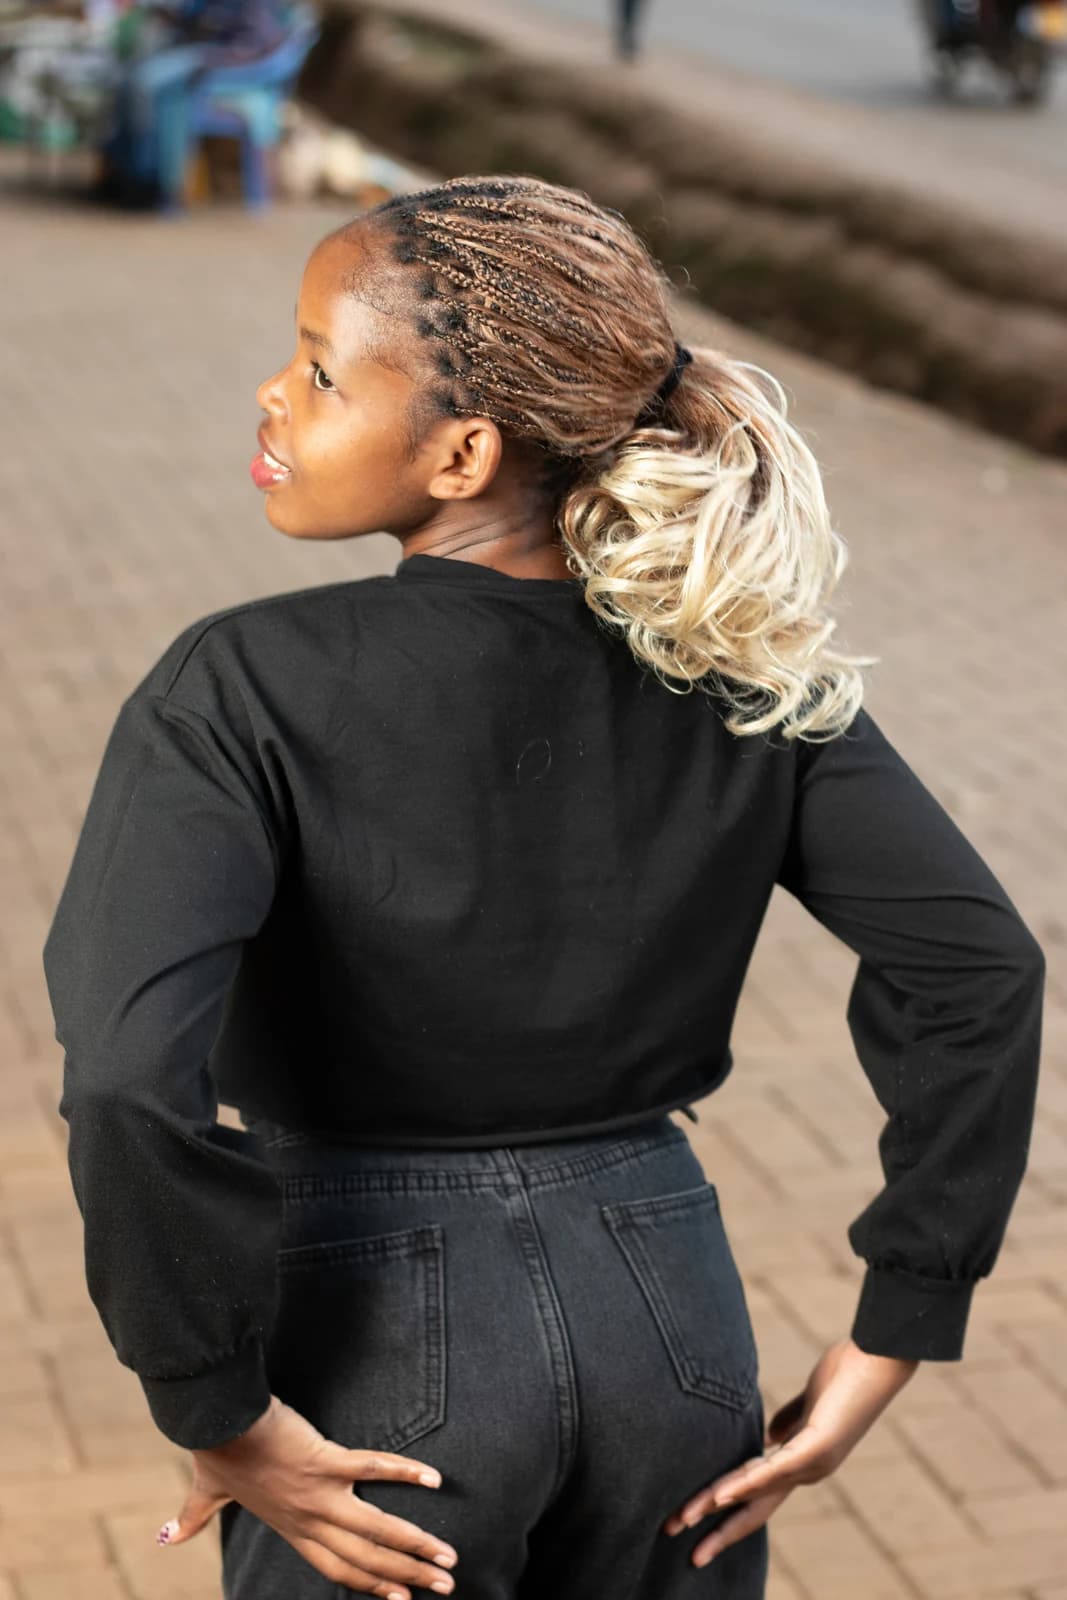
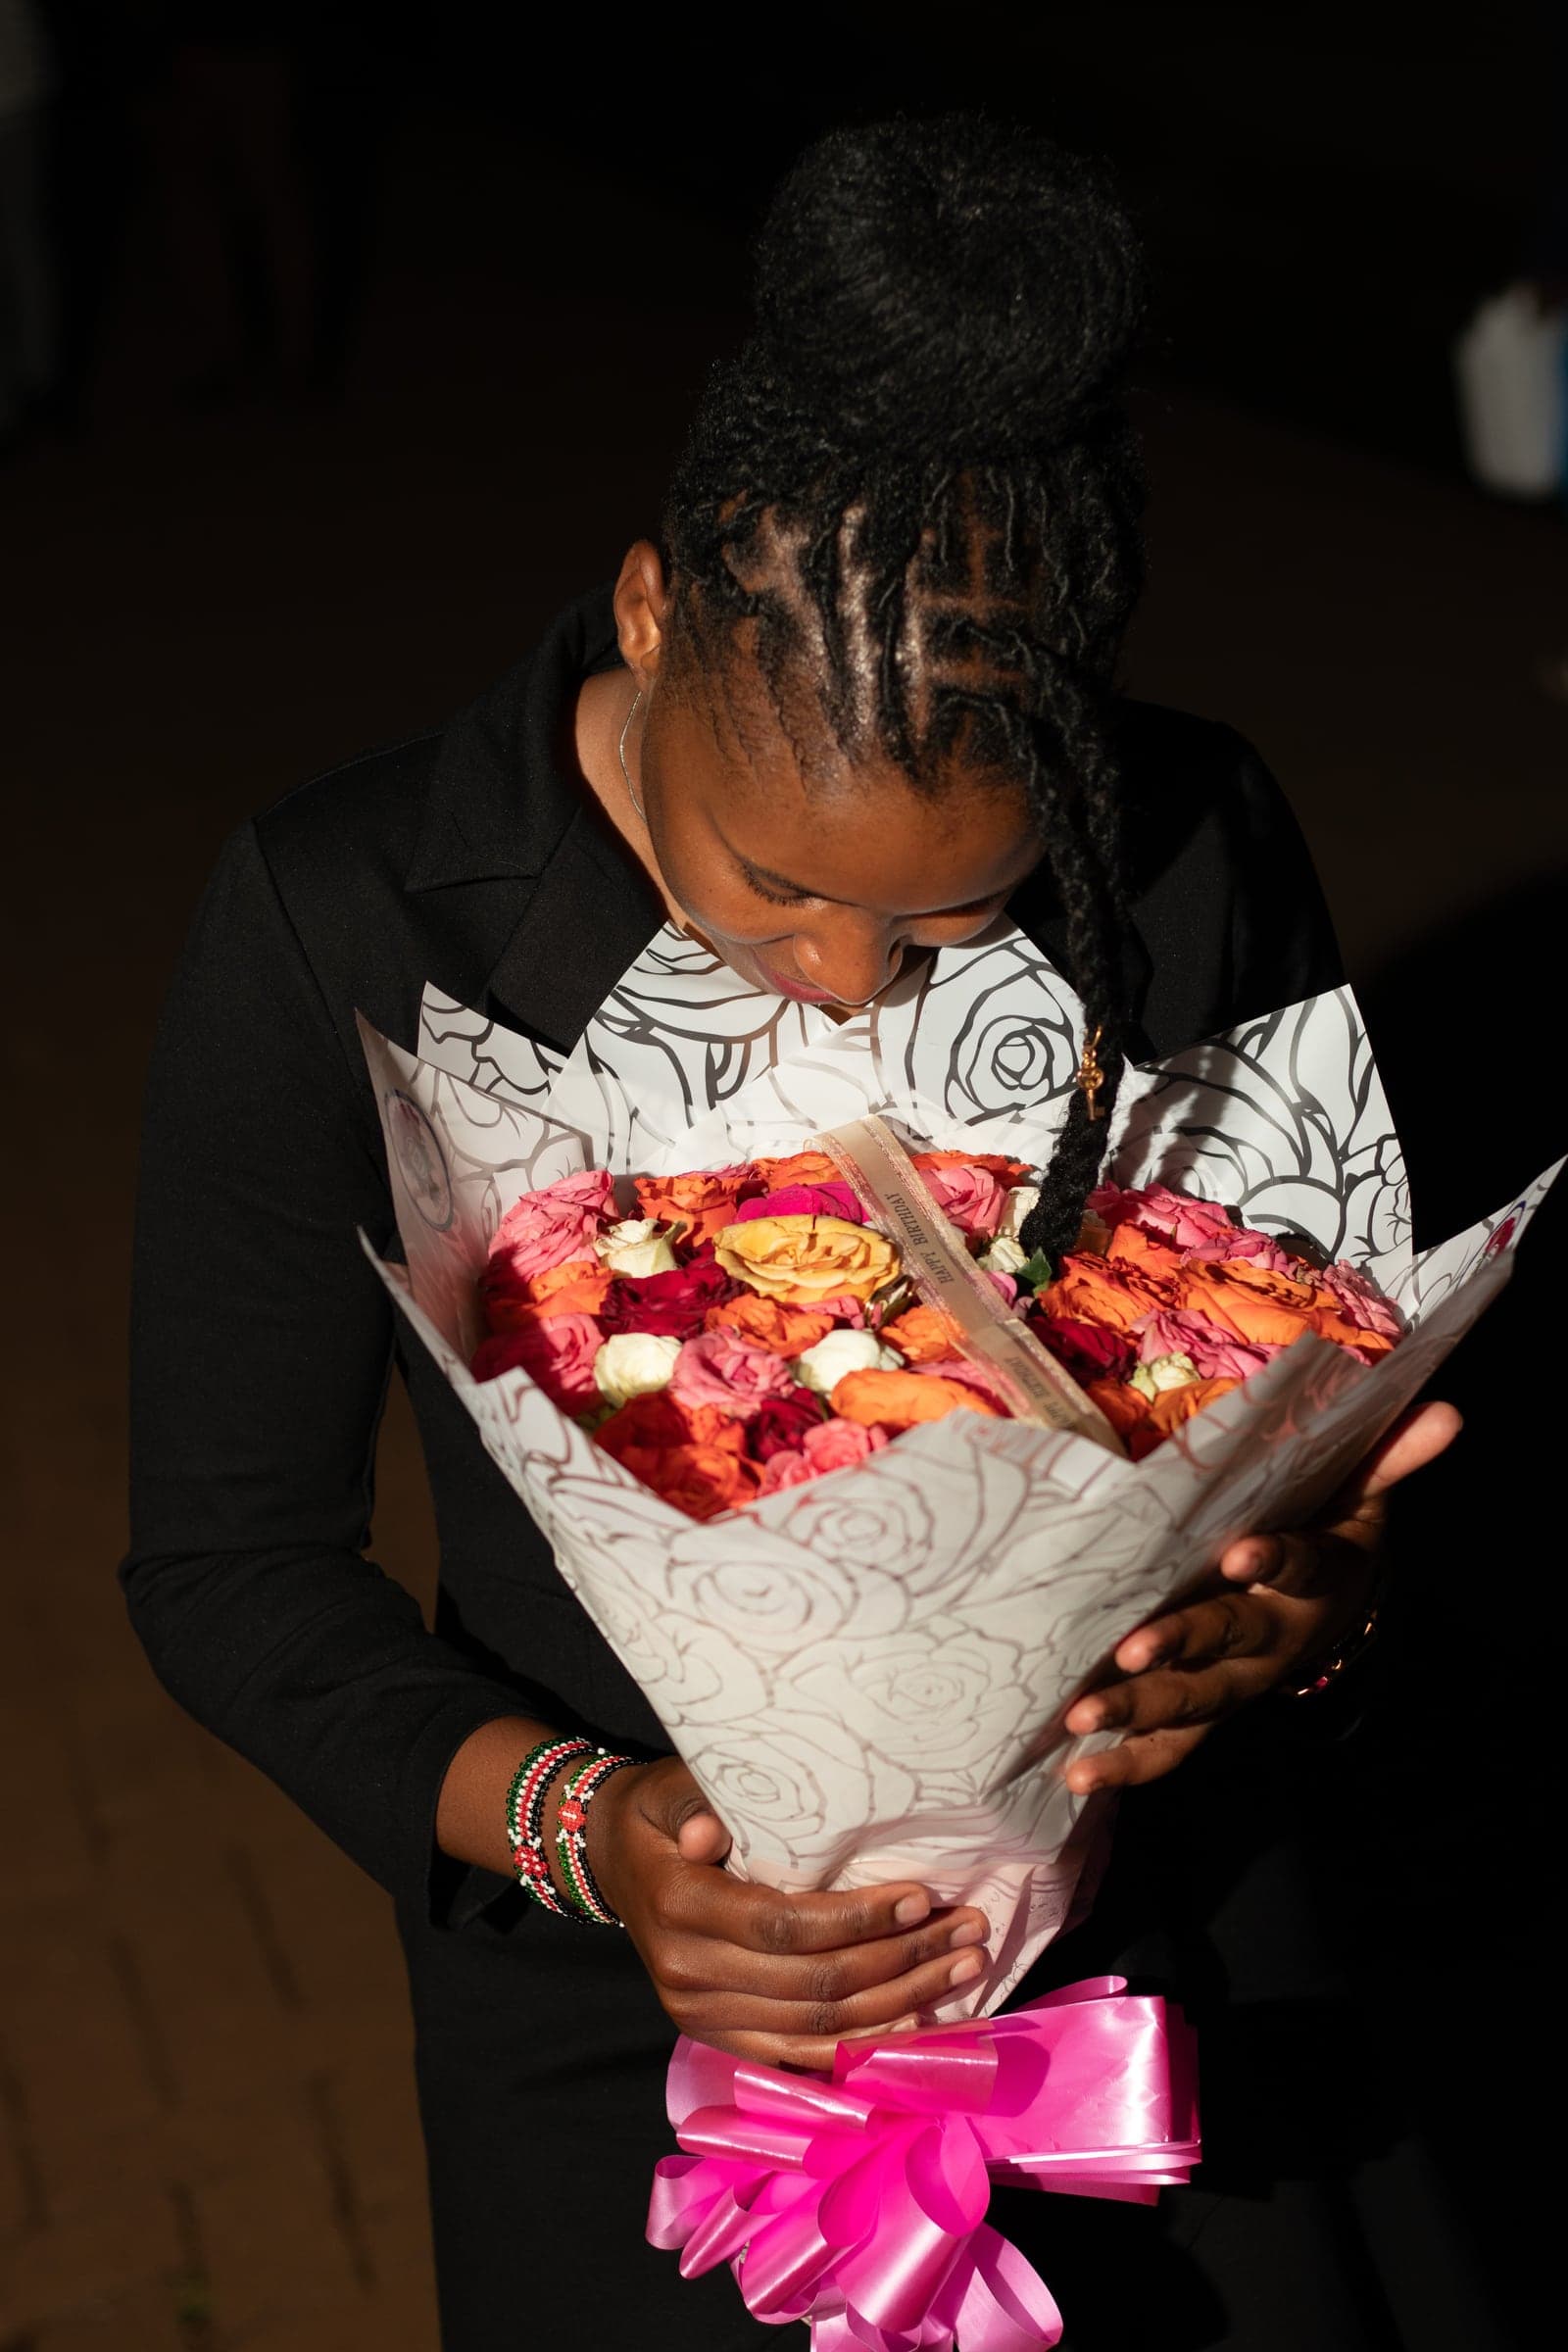
Dramatic portrait
Dramatic portrait
Deepened shadows and controlled highlights isolate the subject against a dark backdrop.
Tip: Underexpose slightly on the day to keep the drama recoverable.
Get these presets

Editorial portrait
Editorial portrait
Clean, true-to-life skin and a soft filmic tone for a magazine-style finish.
Tip: Nail white balance in-camera so the edit stays natural.
Get these presets

Moody street tone
Moody street tone
A cool, cinematic grade with lifted contrast for a bolder, editorial mood.
Tip: Protect the skin tones while you cool the rest of the frame.
Get these presets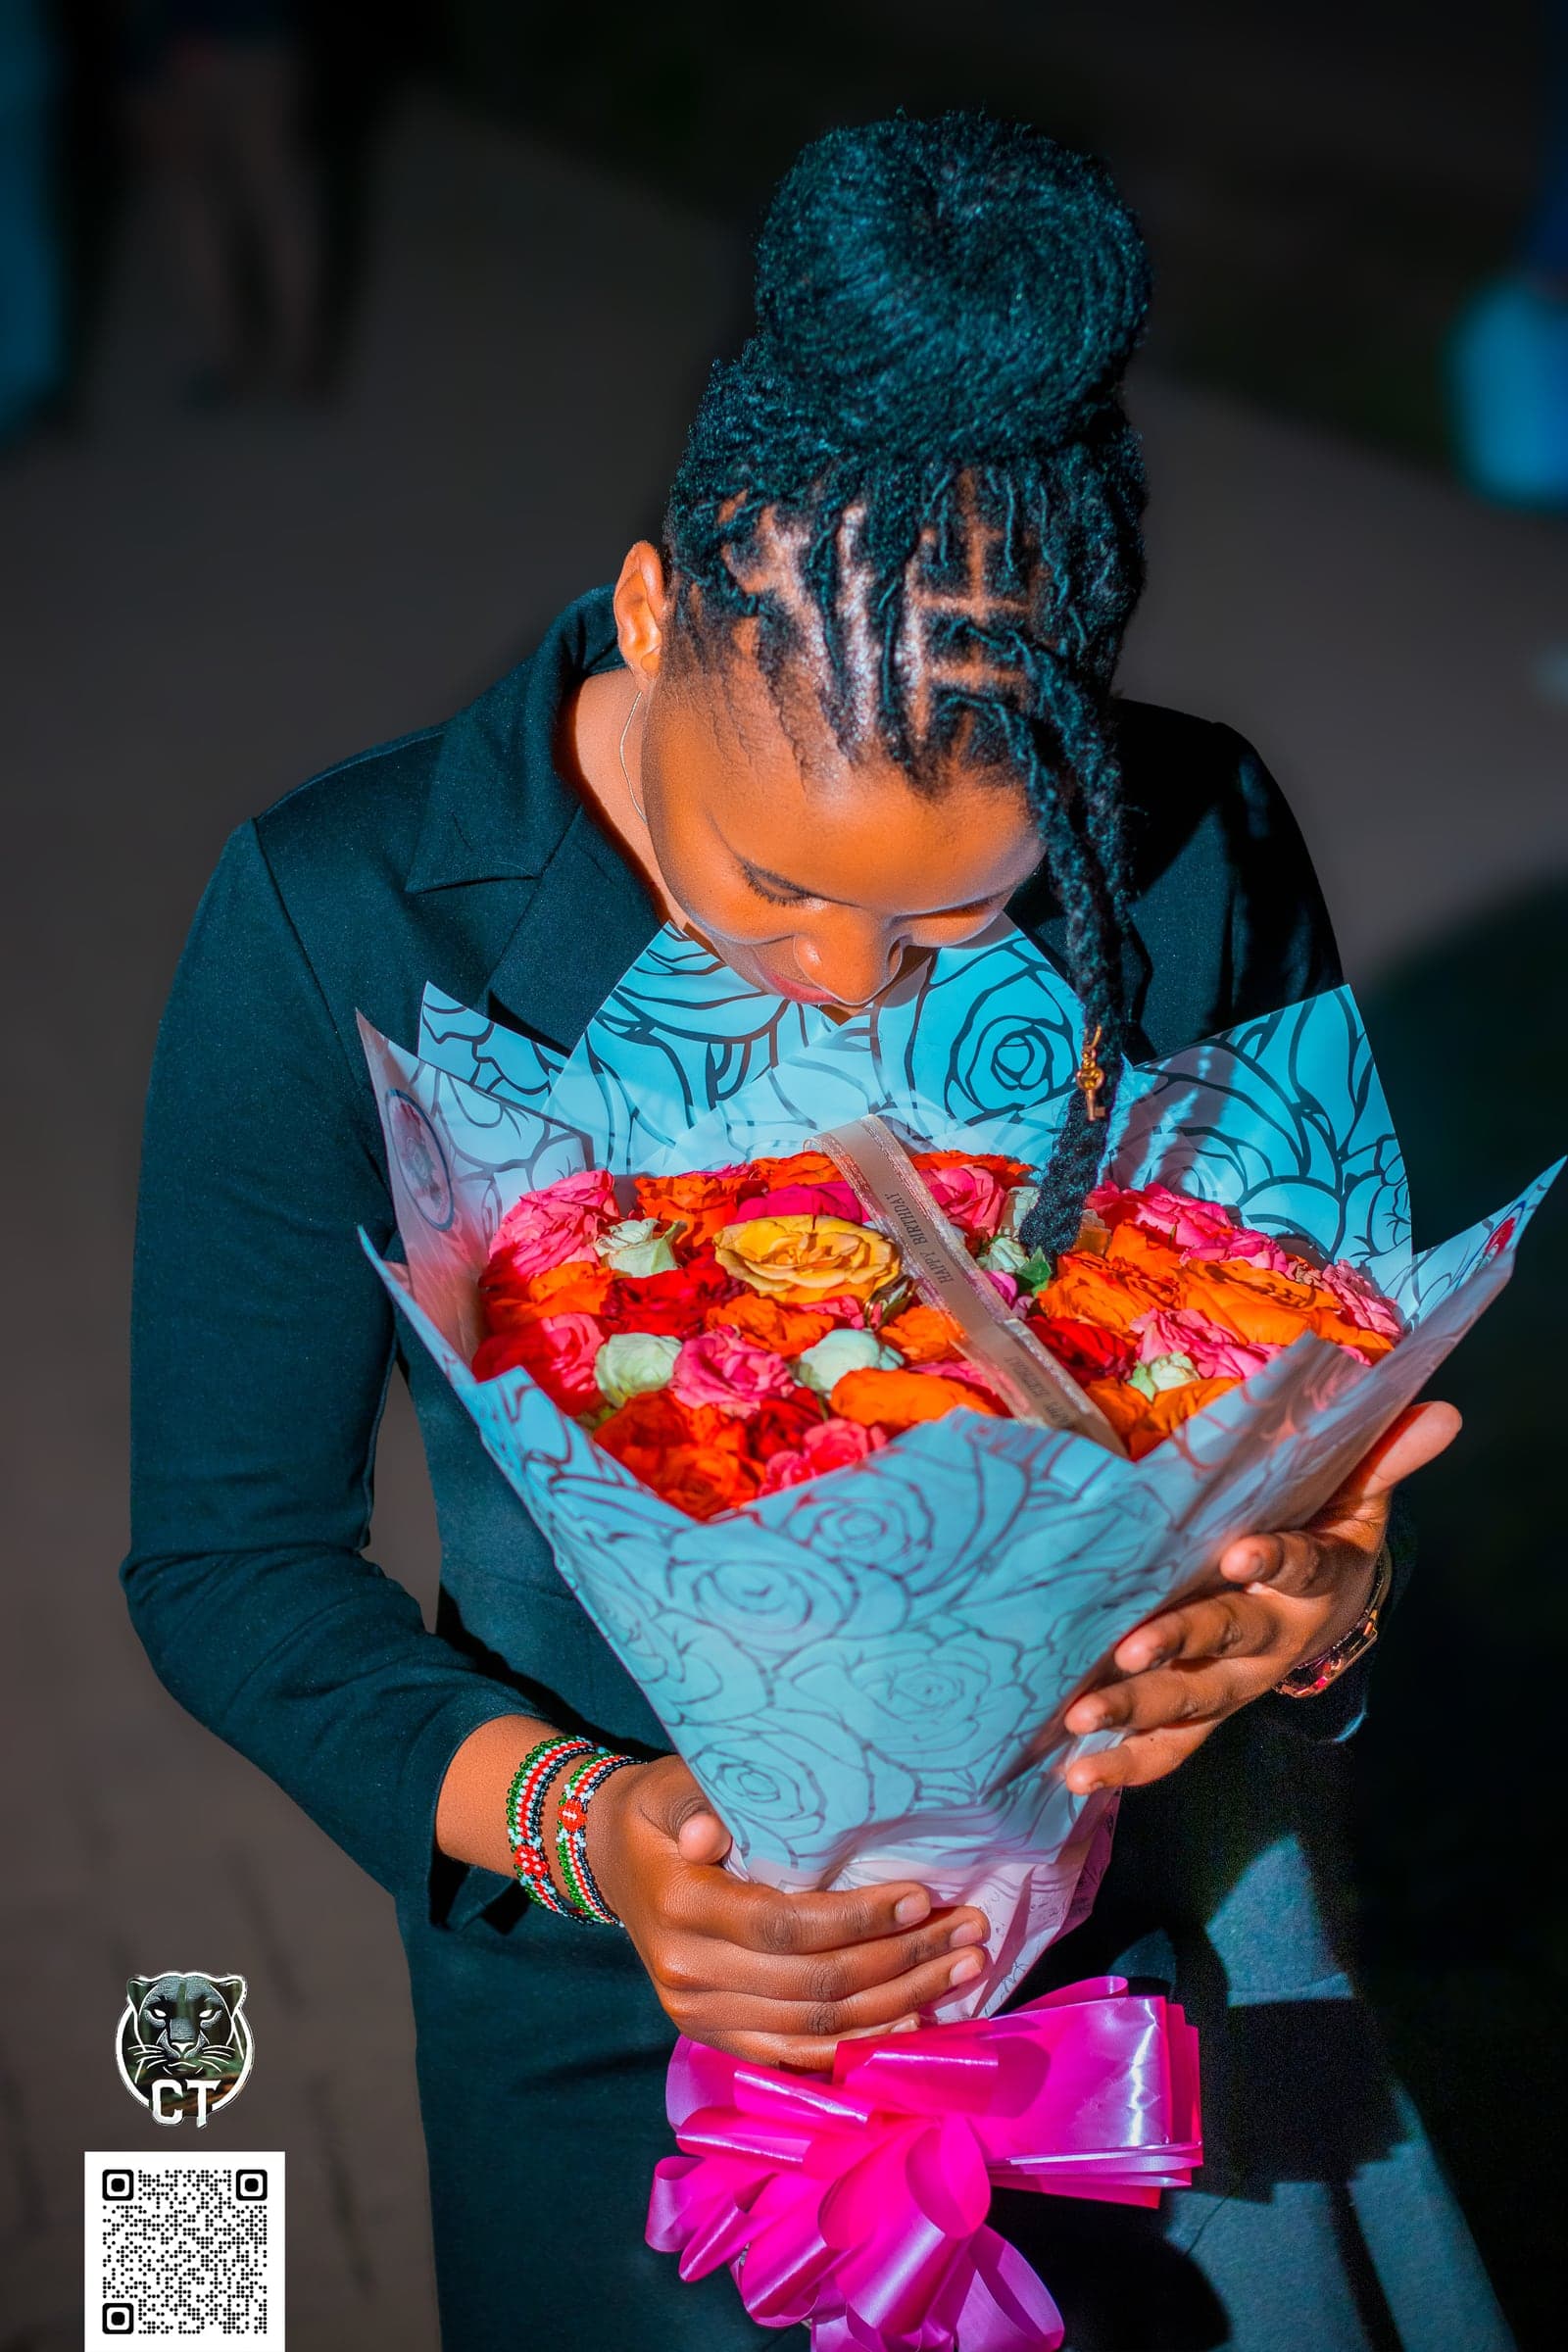
Object removal
Object removal
A stray cable and signage removed so nothing competes with the subject.
Tip: Moving the object beats removing it — removal is the backup.
Get these presets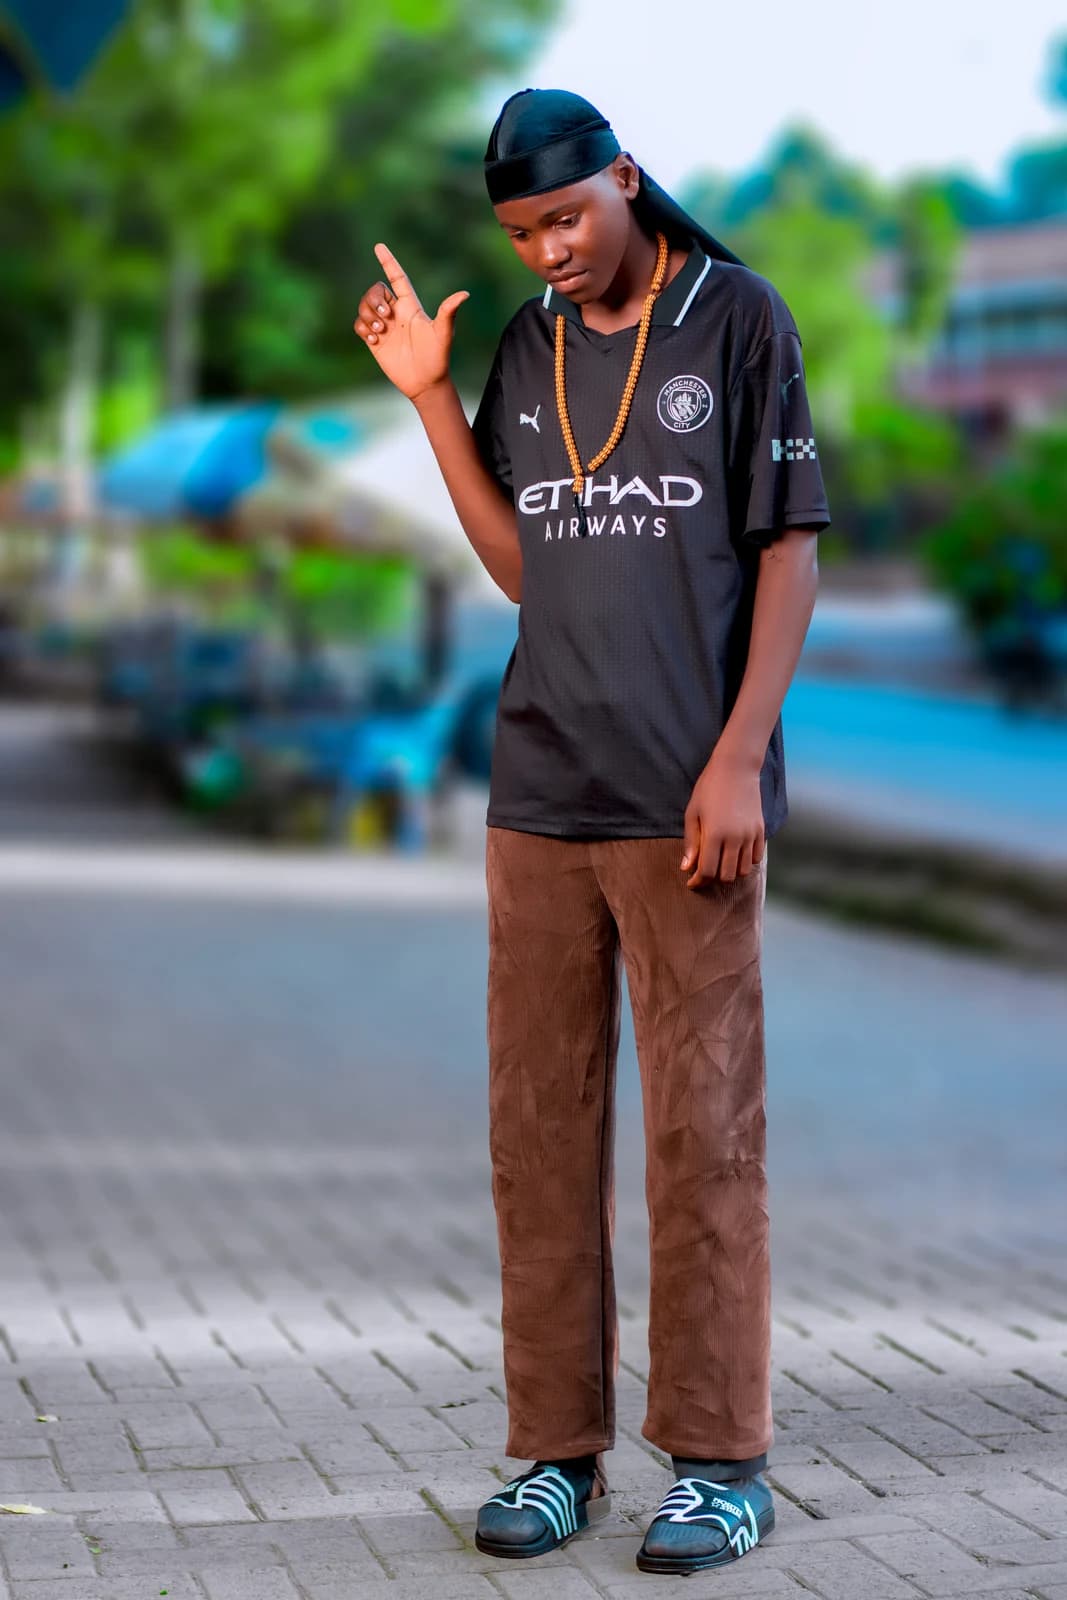
Outdoor portrait grade
Outdoor portrait grade
Harsh daylight balanced and skin warmed for a flattering, consistent look on location.
Tip: Shoot in open shade when you can — it grades far more kindly.
Get these presets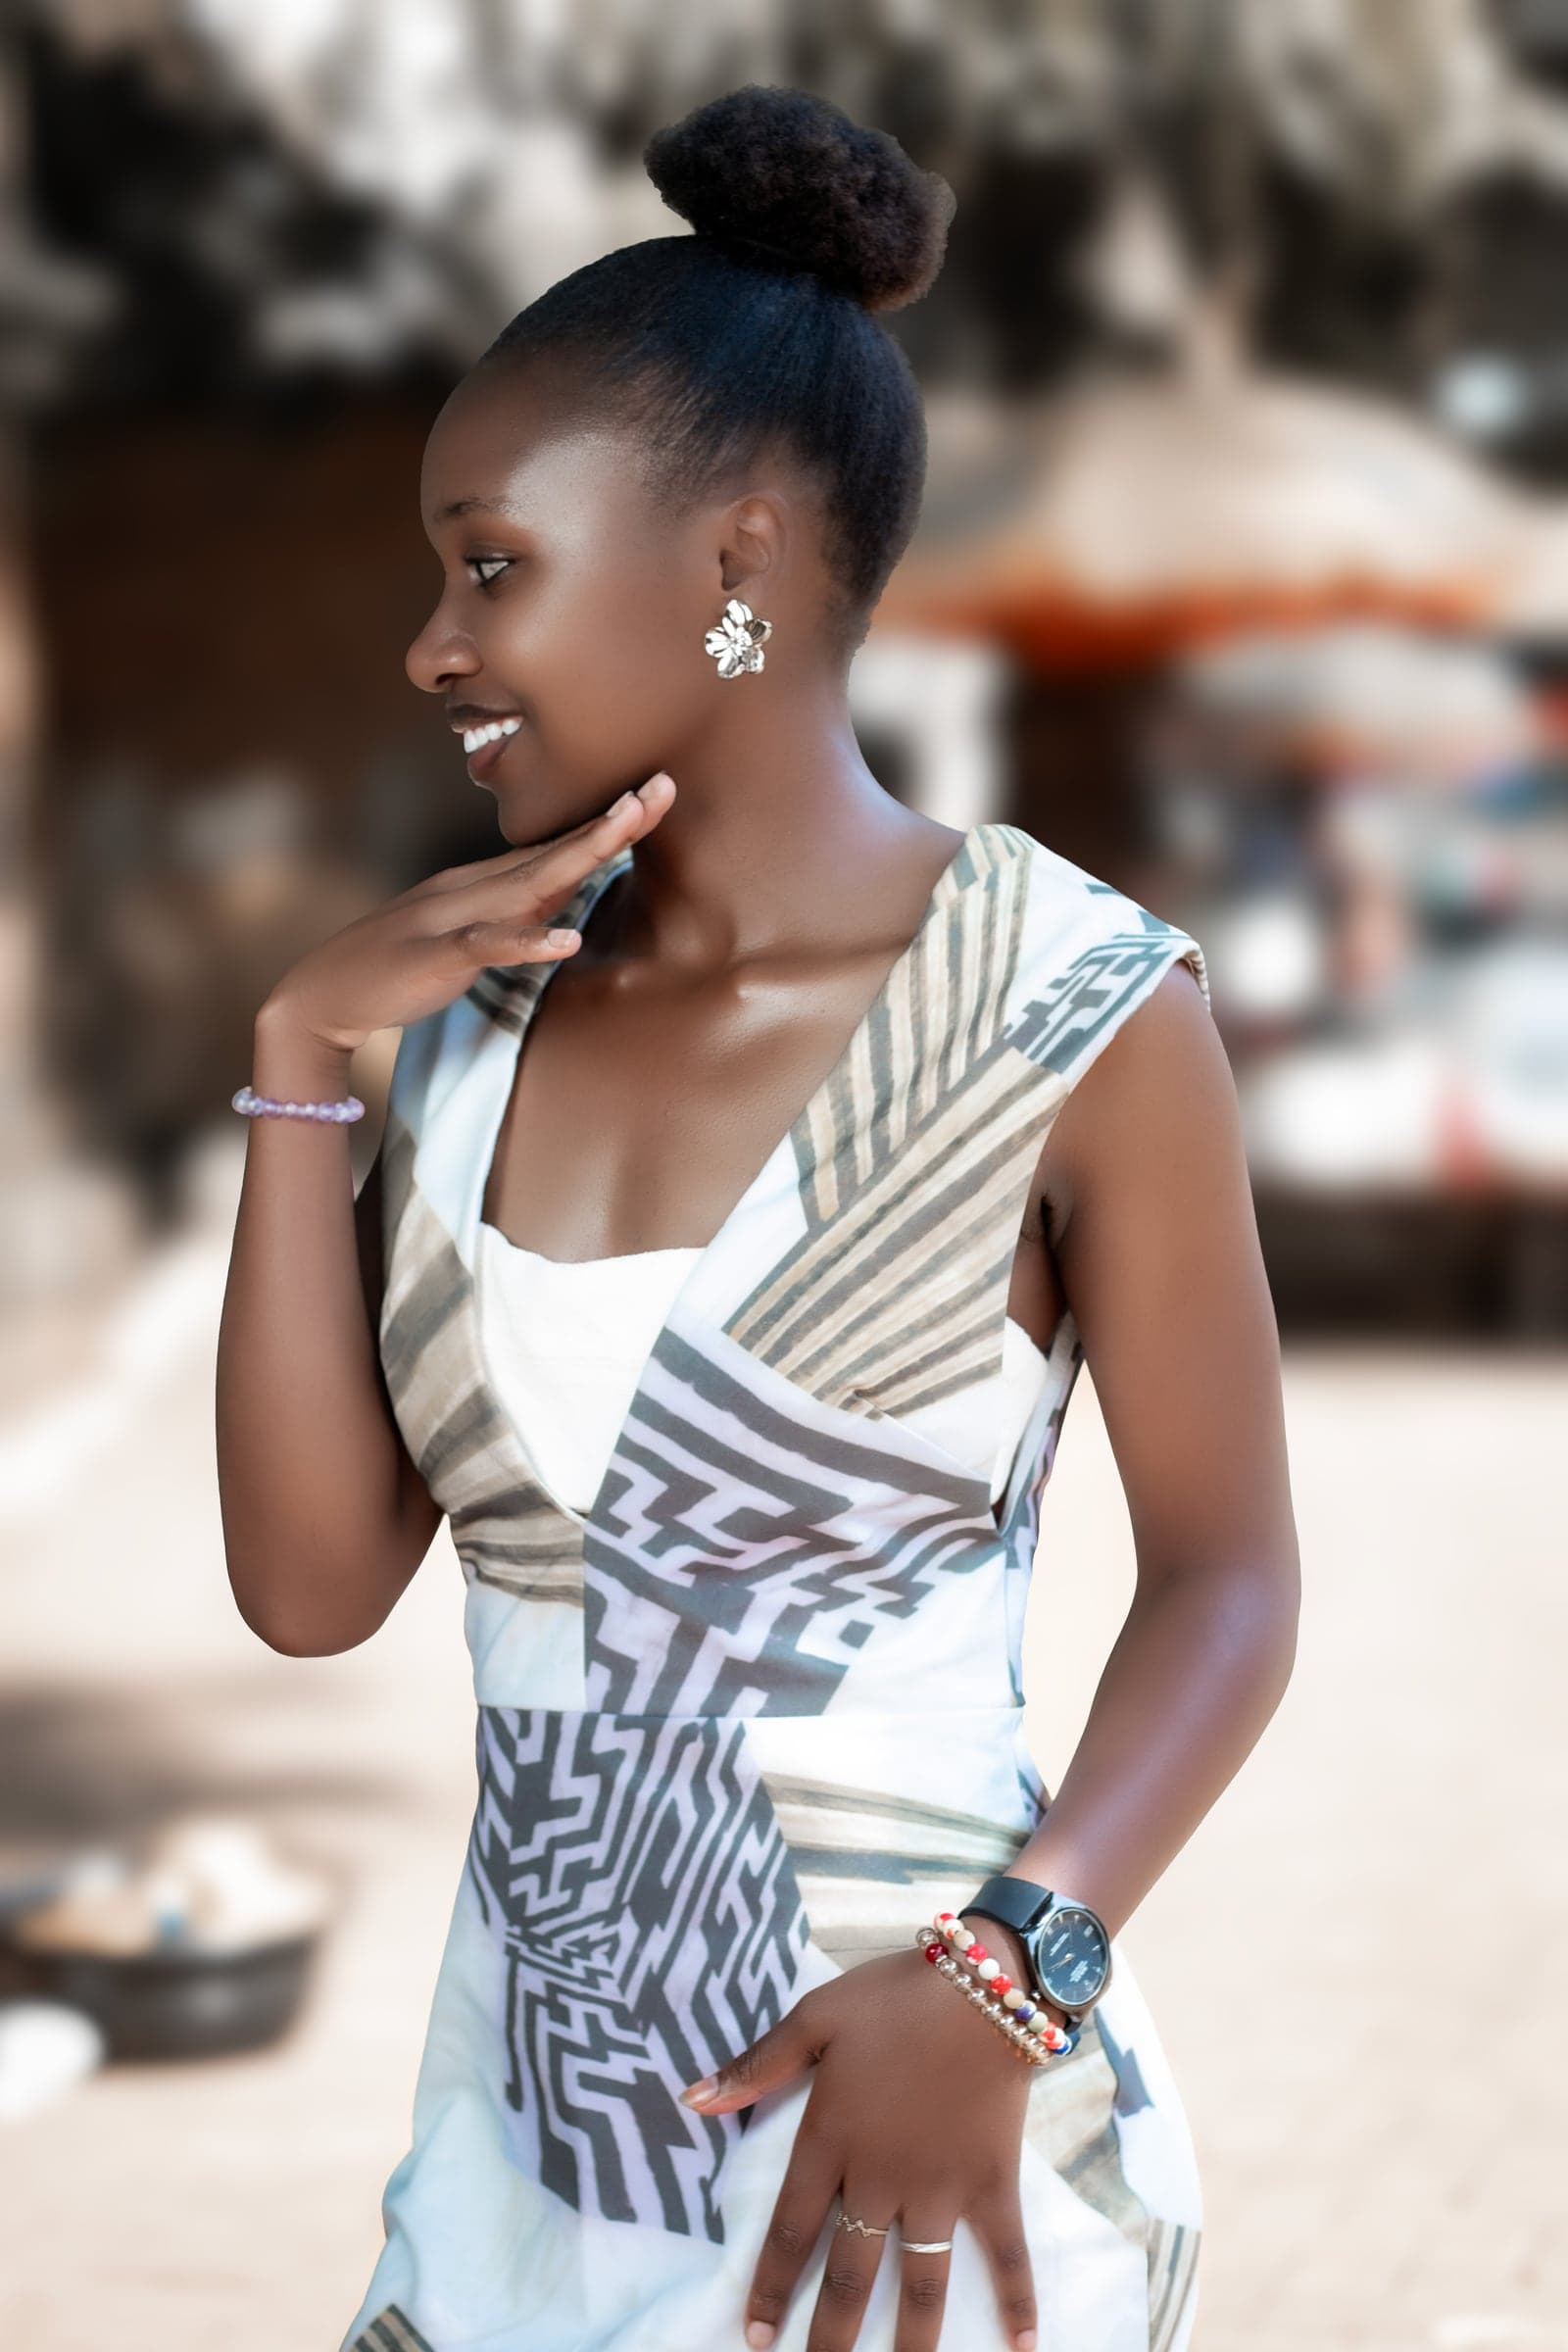

Portrait retouch
Portrait retouch
Blemishes and stray hairs removed, skin tone evened out — without losing texture.
Tip: Retouch on a low-opacity layer so real skin texture survives.
Get this preset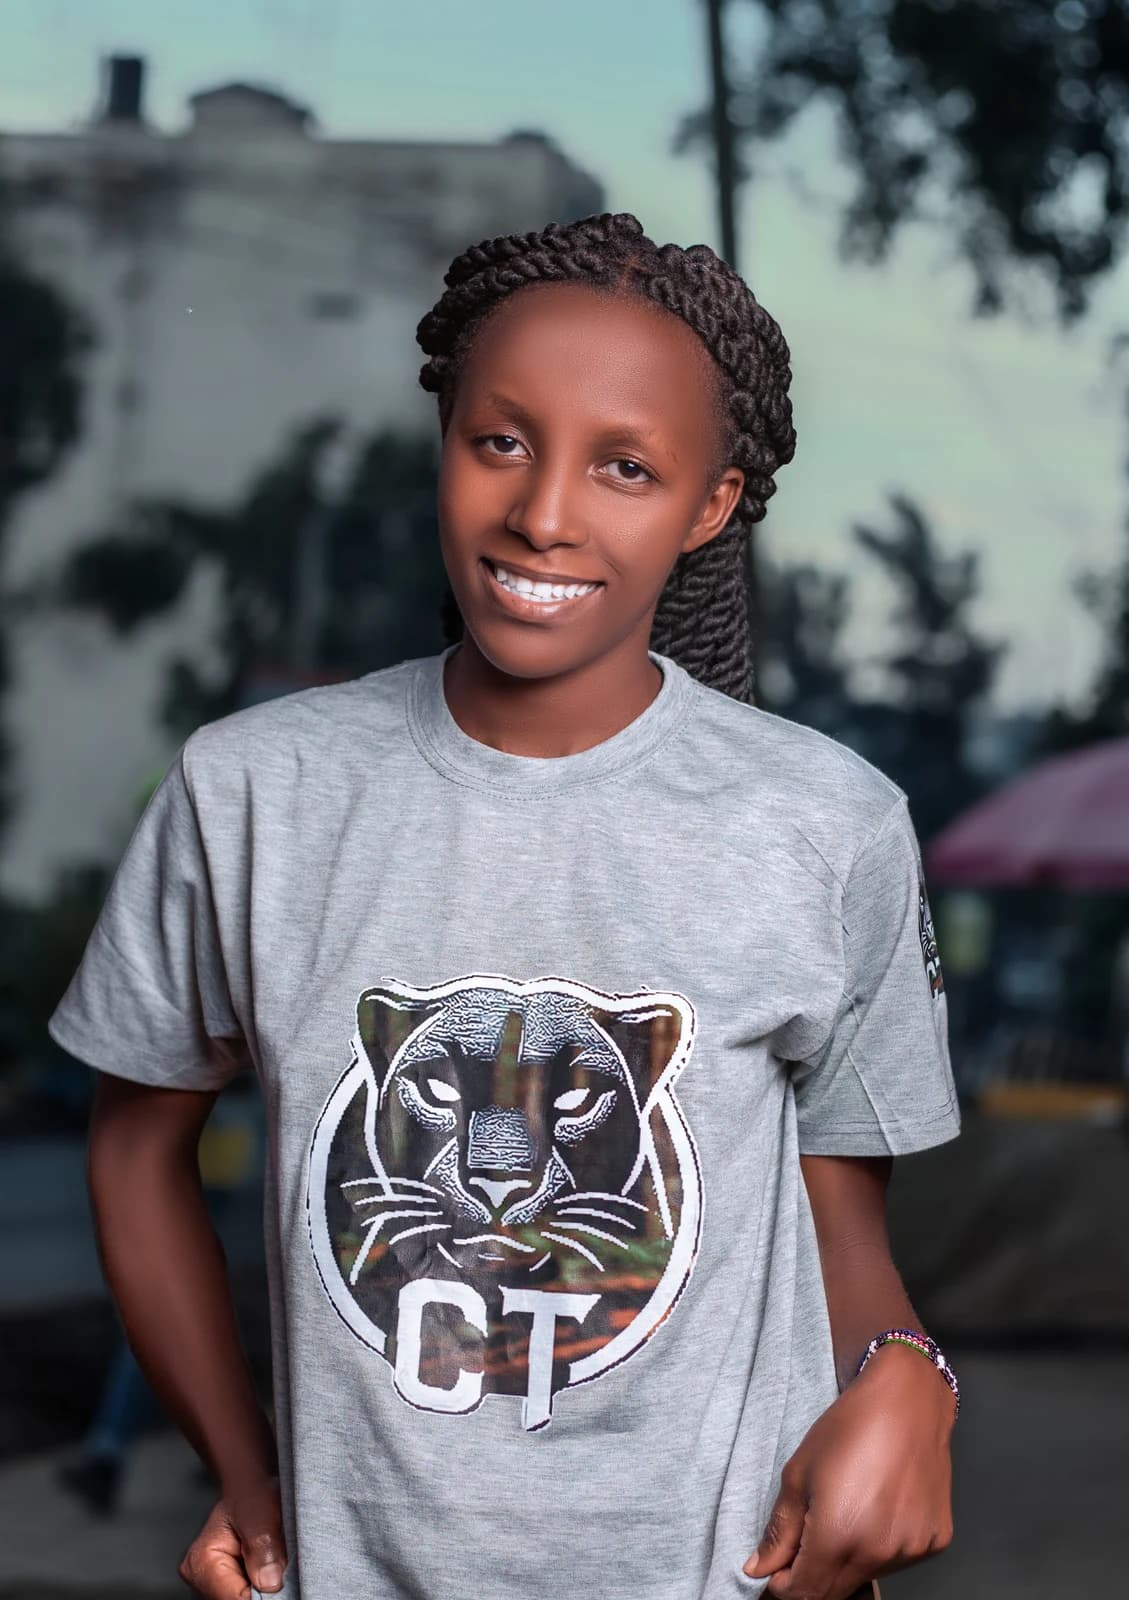
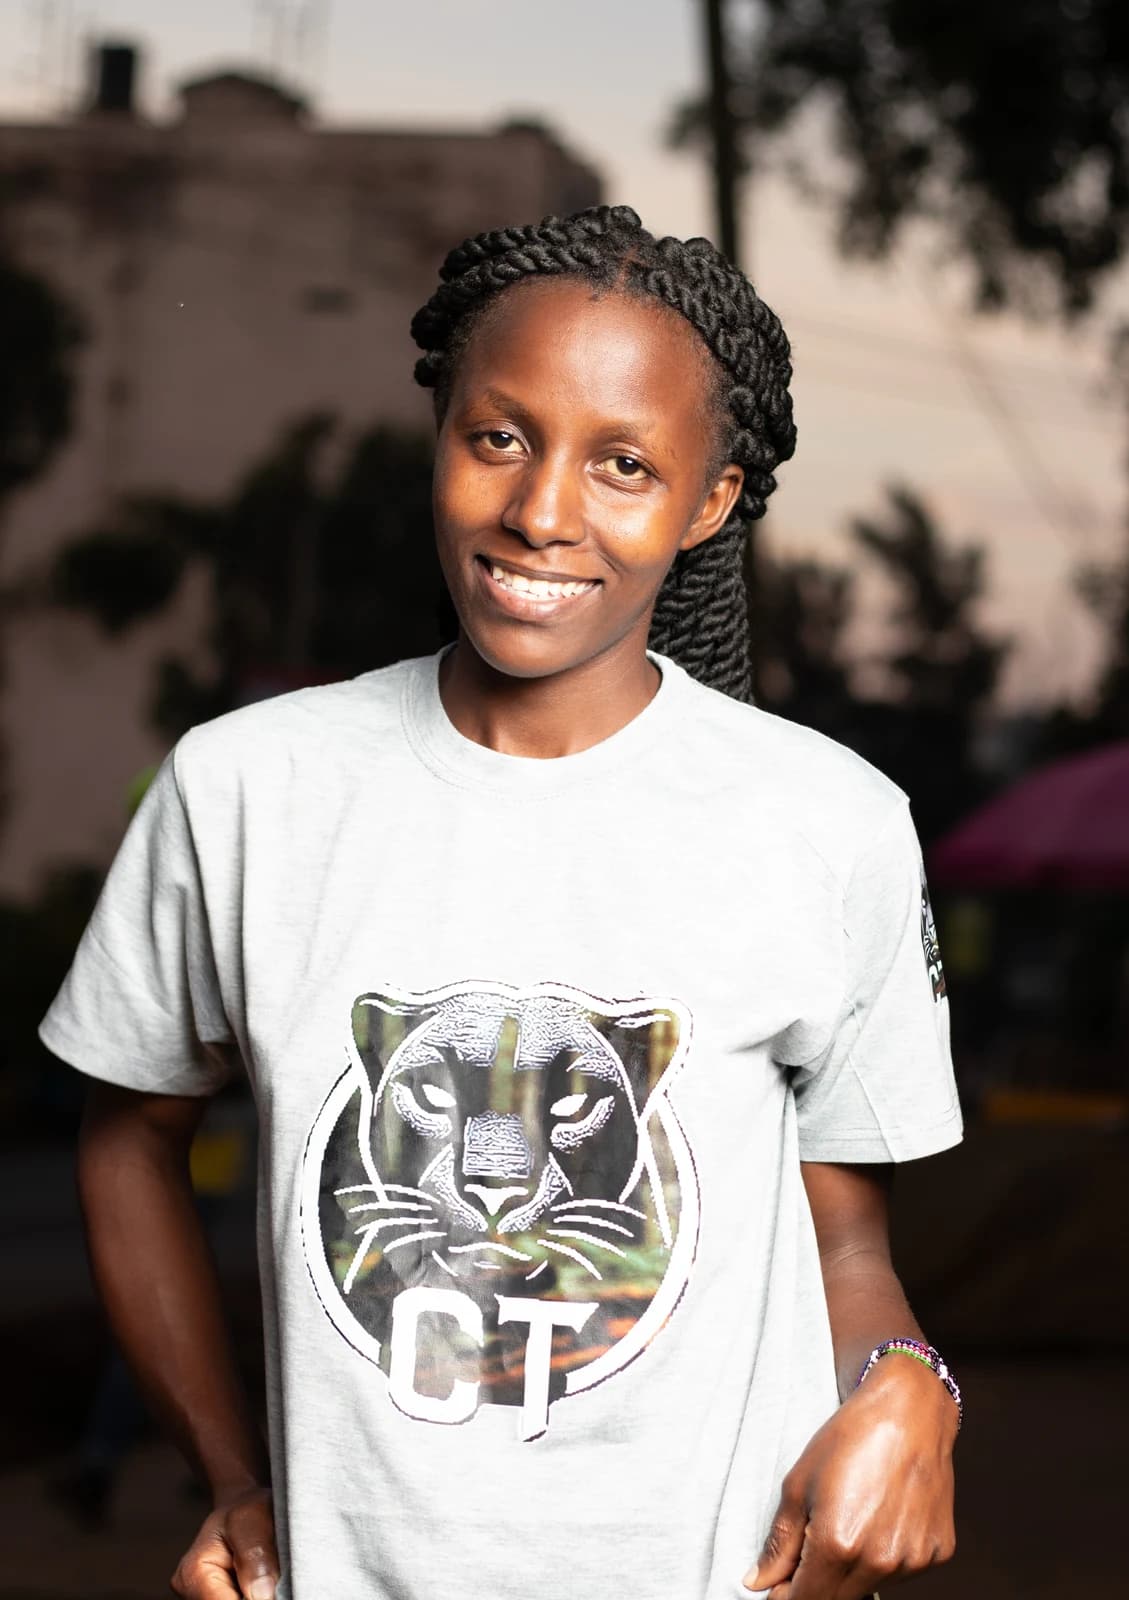
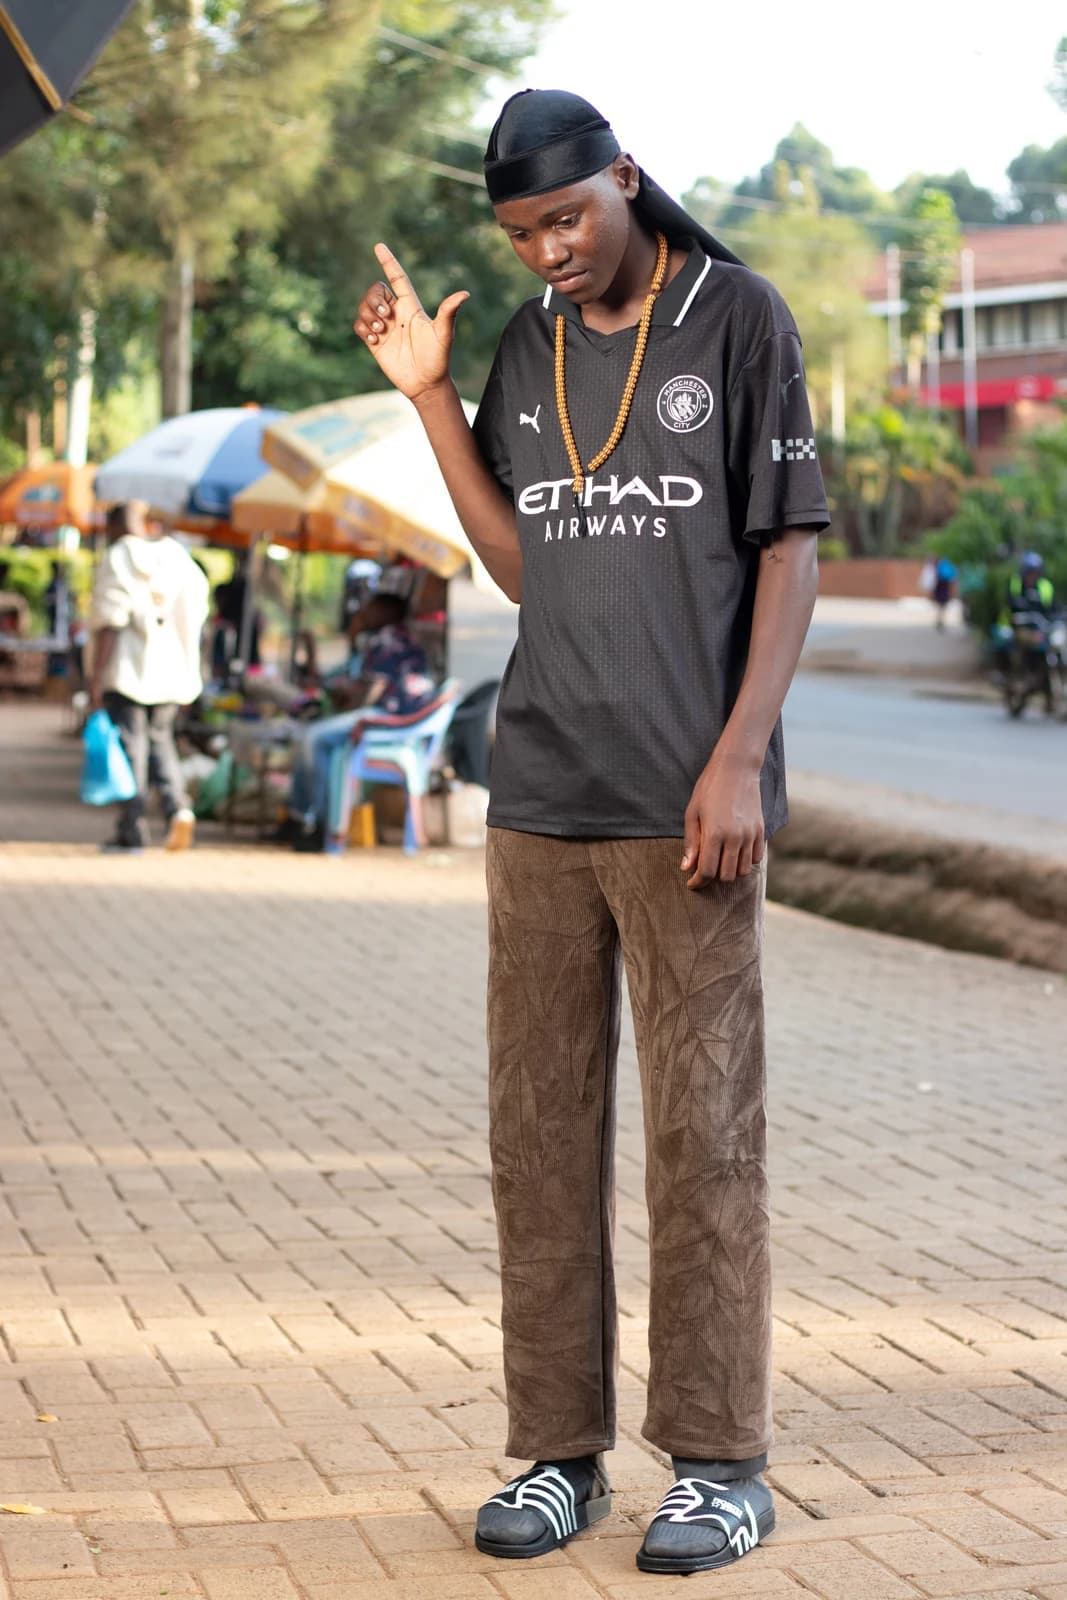
Street portrait grade
Street portrait grade
Skin tone evened and warmed, and the busy street behind toned down so the subject steps forward.
Tip: Separate your subject with light first — grading only finishes the job.
Get these presets
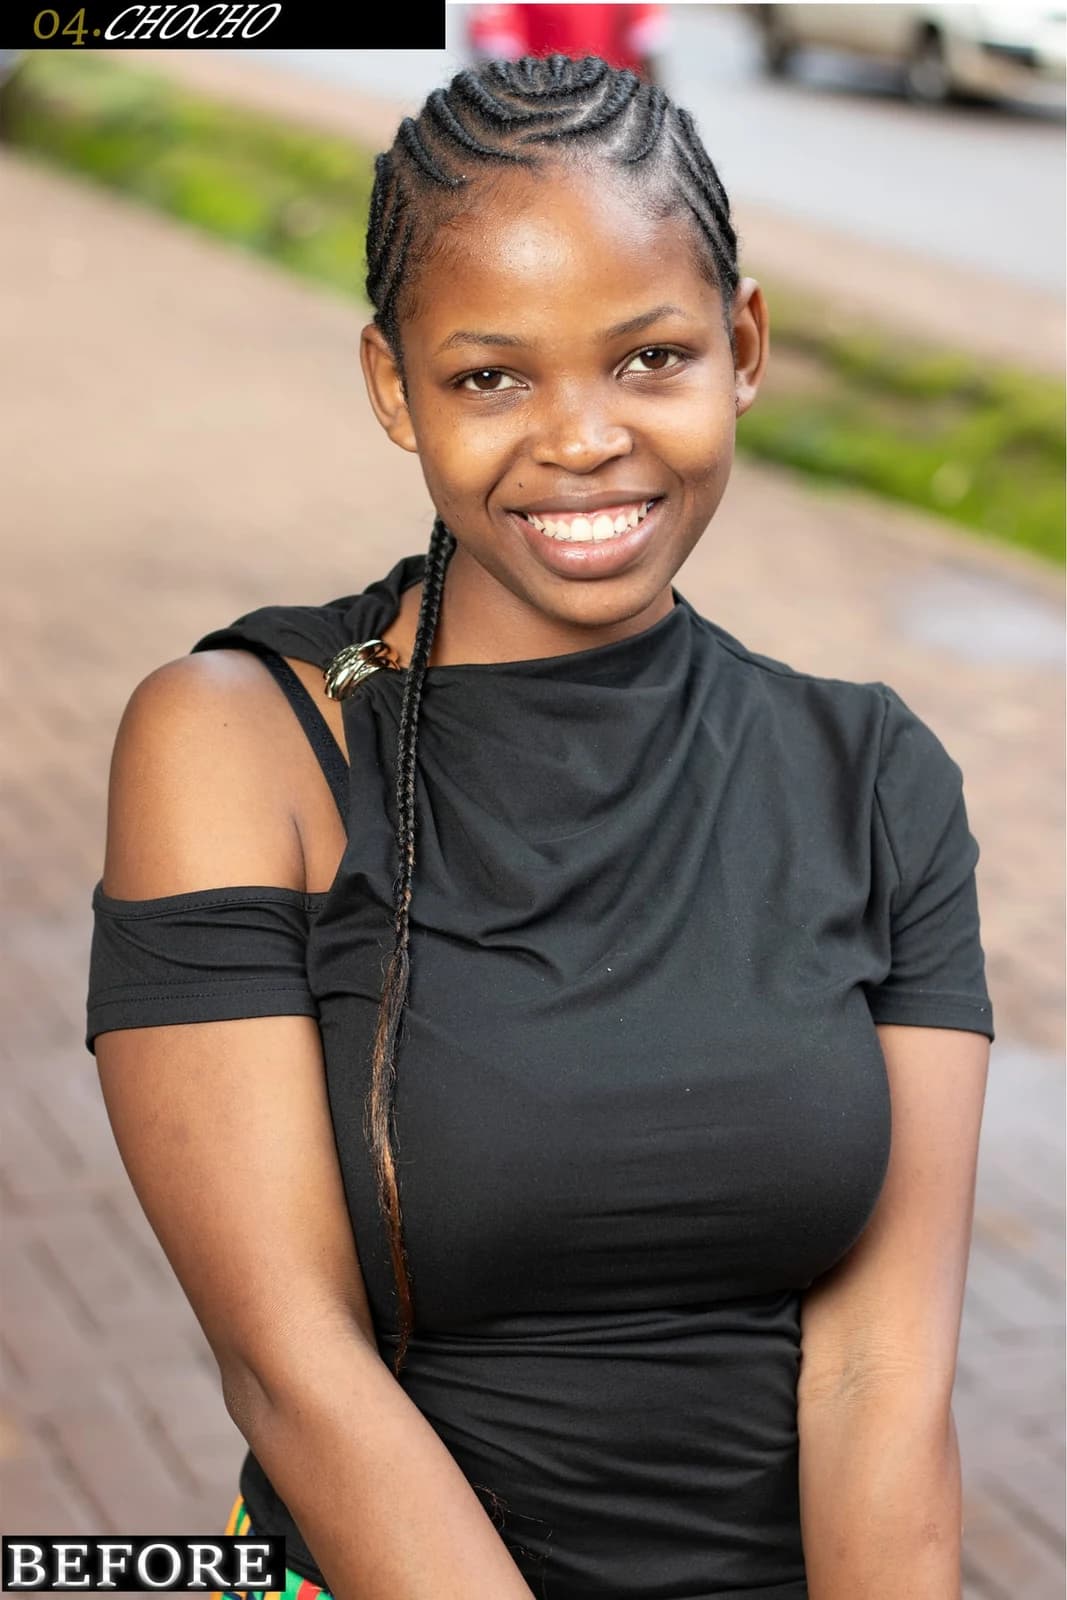
Teeth whitening
Teeth whitening
Yellow cast corrected on the teeth only, kept natural not bleached.
Tip: Reduce saturation, don't just add brightness.
Get these presets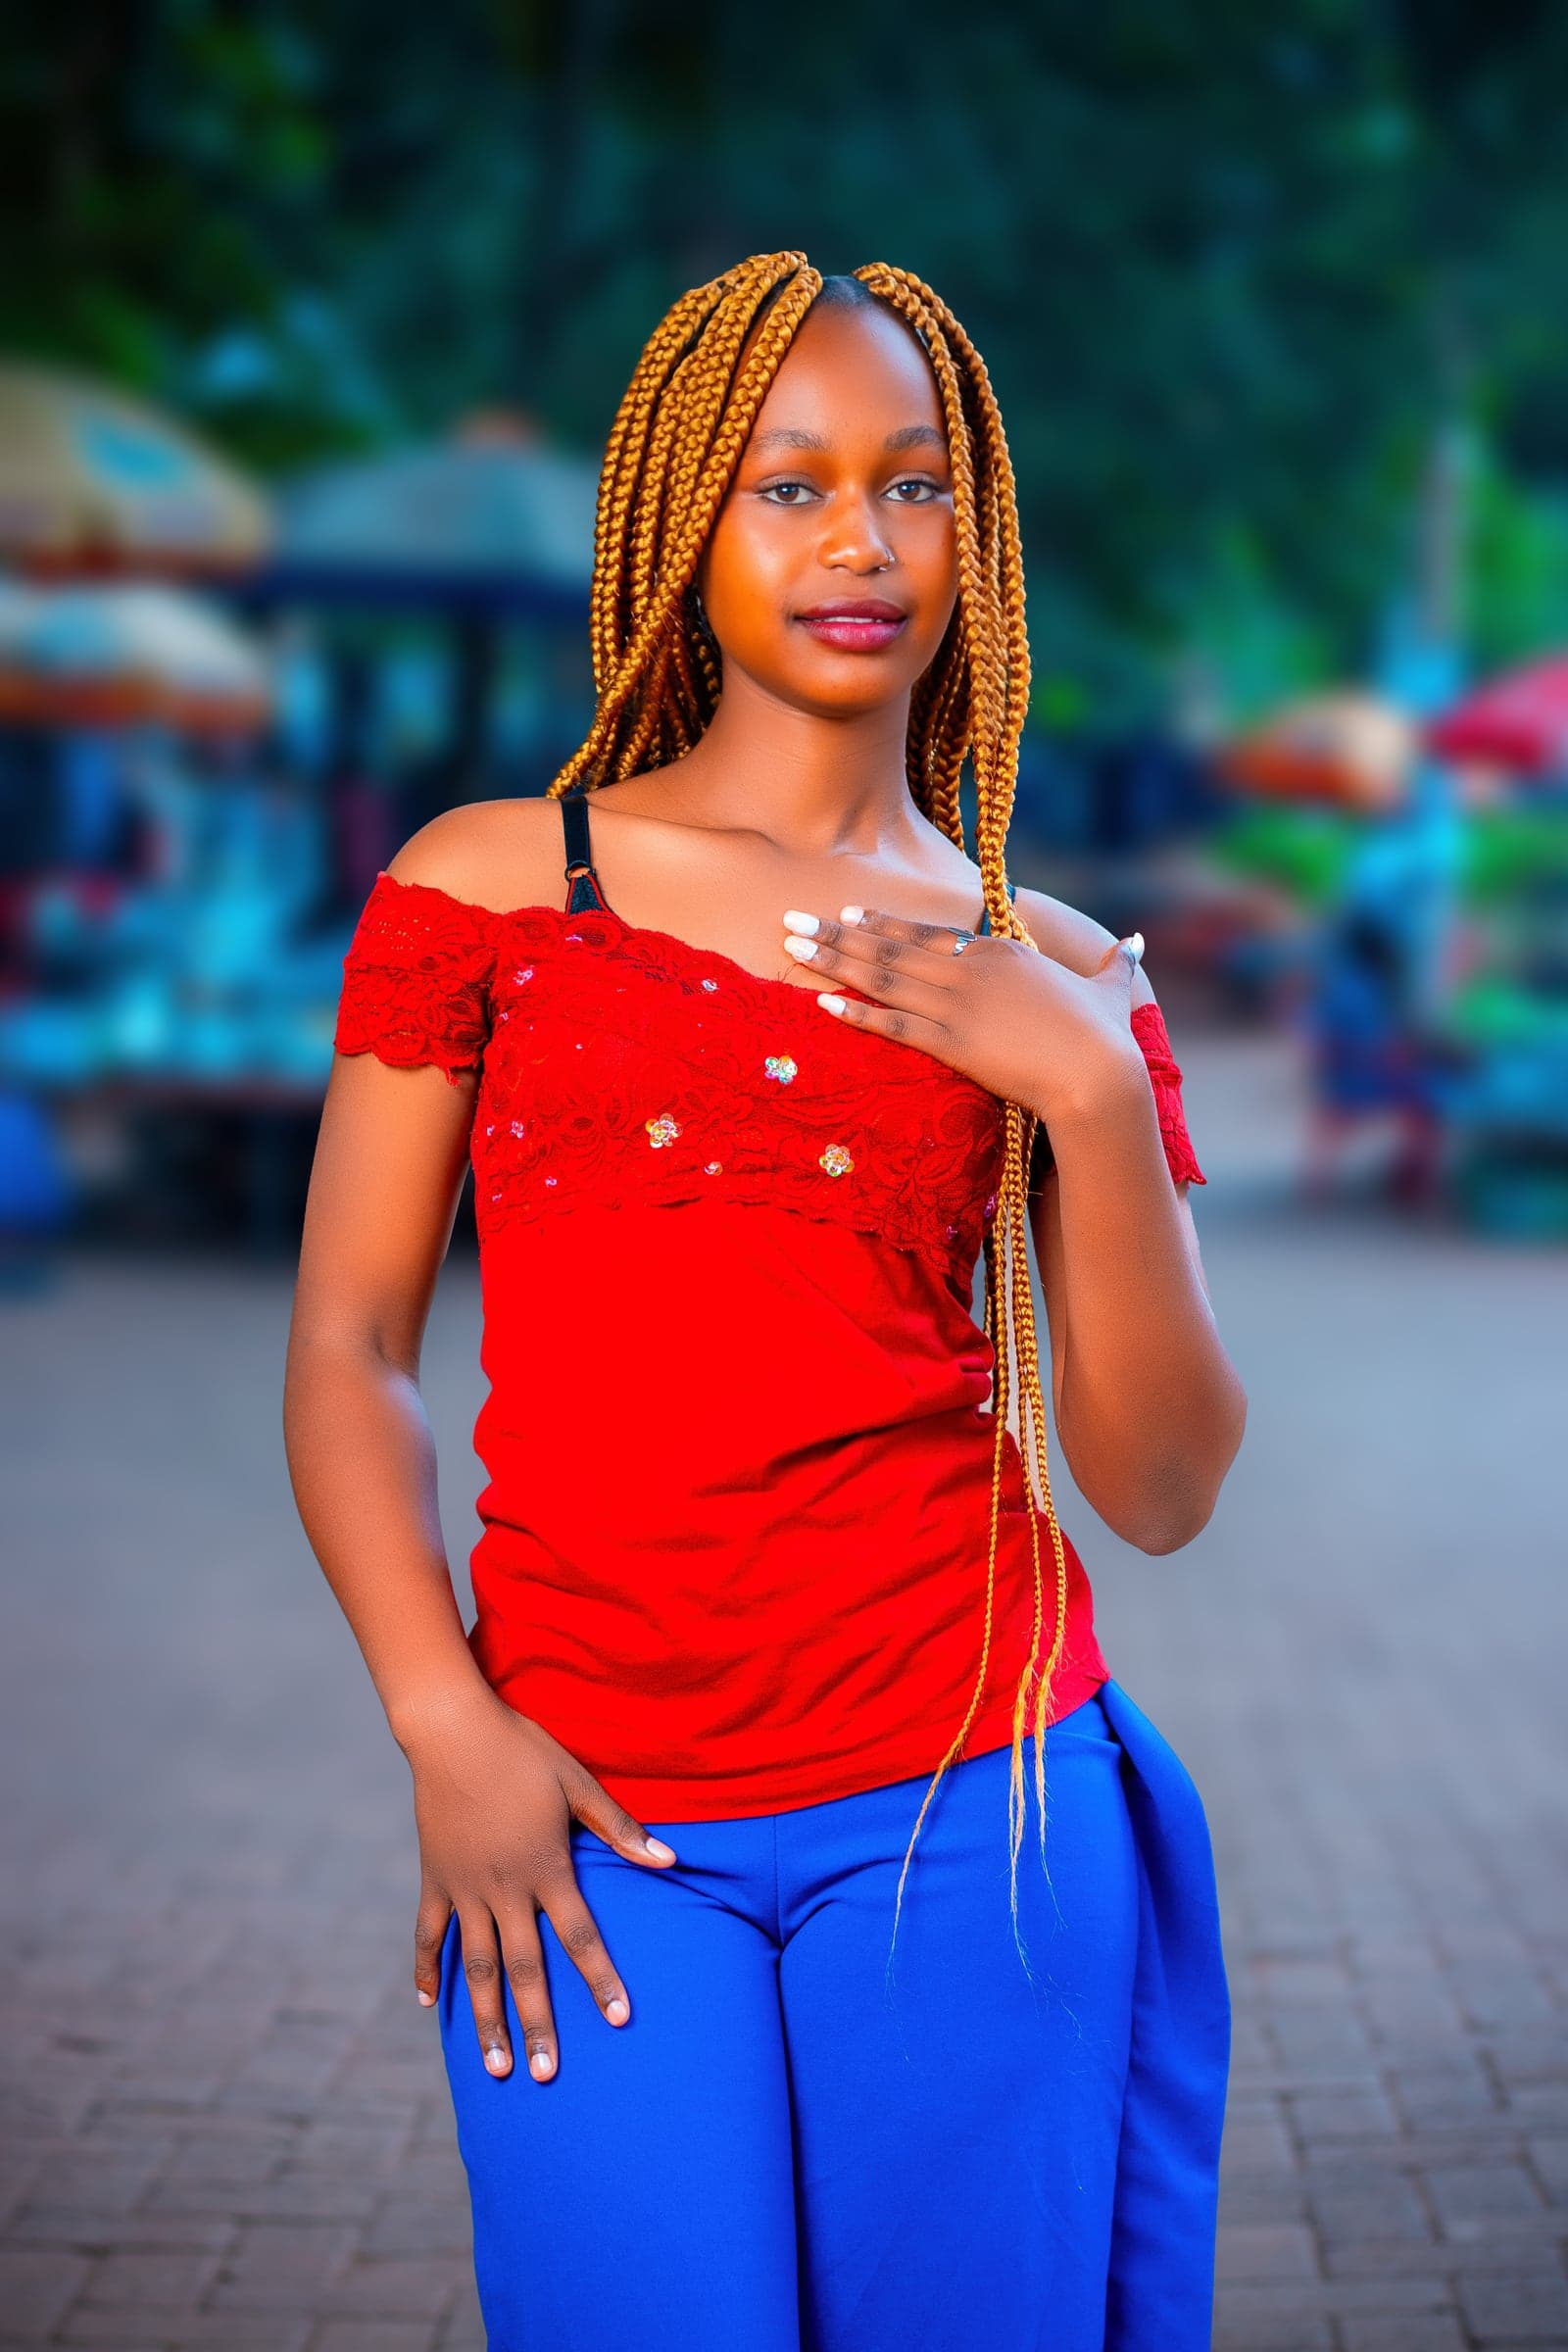
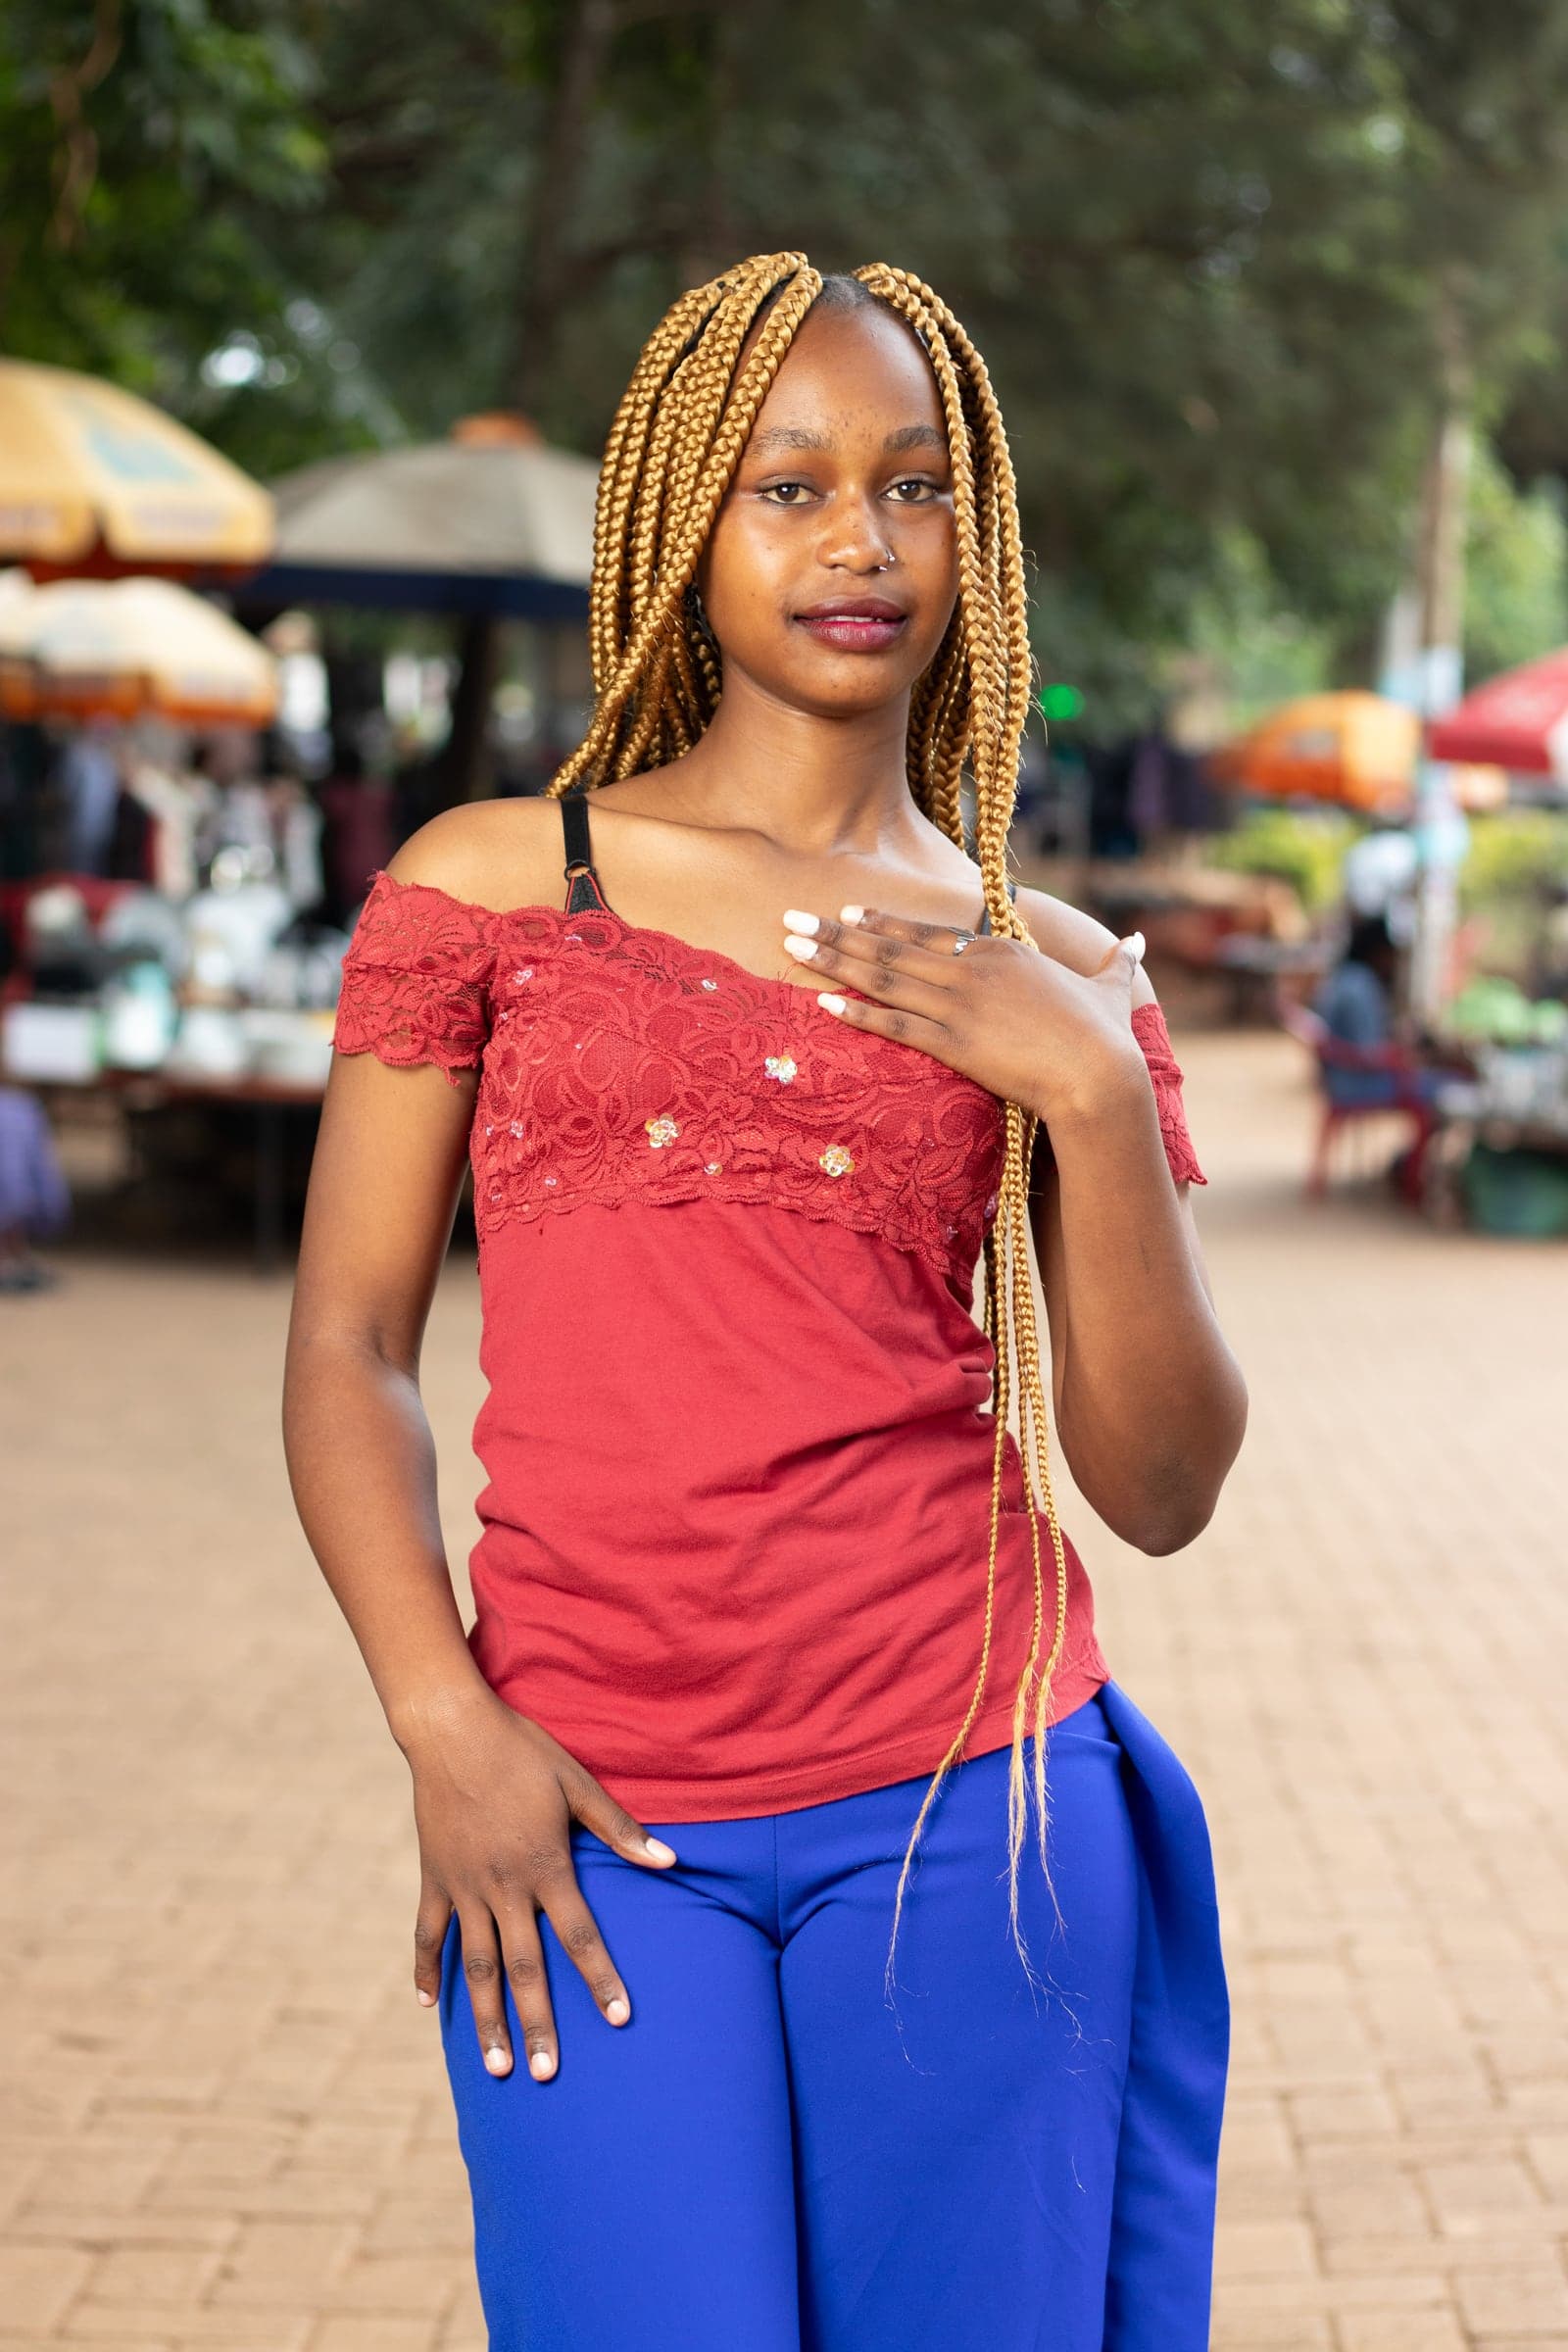
Vibrant portrait grade
Vibrant portrait grade
Rich, punchy colour and contrast with the background dropped back — bold, but the skin stays clean and true.
Tip: Lift vibrance, not saturation, so skin doesn't go orange.
Get these presets

Warm portrait grade
Warm portrait grade
A warm, golden finish with even skin and a gentle glow that keeps texture intact.
Tip: Add warmth in the midtones, not the whole image, to keep whites clean.
Get these presets
Let's begin
Ready to make your brand look unmissable?
Book a free consultation and we'll map the visuals your business needs — and exactly what they'll cost.
Replies within a few hours · Nairobi · Kisii · Kisumu